Pages

Showing posts with label Amigurumi. Show all posts

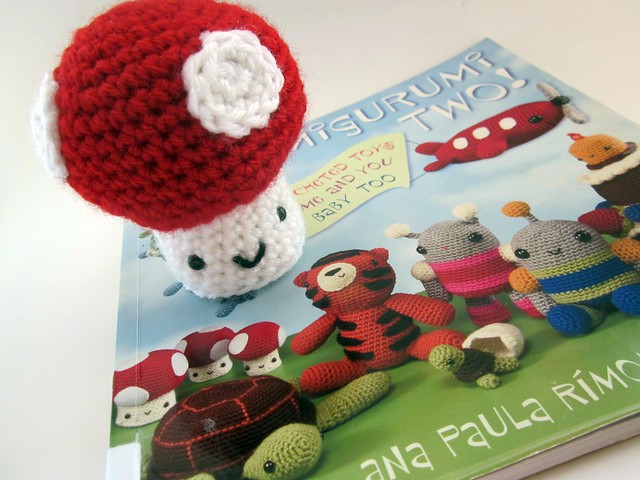
Amigurumi Two!: Crocheted Toys for Me and You and Baby Too

Amigurumi Book

A while back, as in before Bennett was born, I borrowed Amigurumi Two!: Crocheted Toys for Me and You and Baby Too from the library and actually made some projects!  (Don't worry, I returned the book.  I took these photos about two years ago and never shared!). It has seriously been so long since I've completed an amigurumi project, I now wonder how I ever spent my time on cute little things like these. Maybe one day when I'm eighty I can finally do it again. And maybe even get more than five hours of sleep, too.

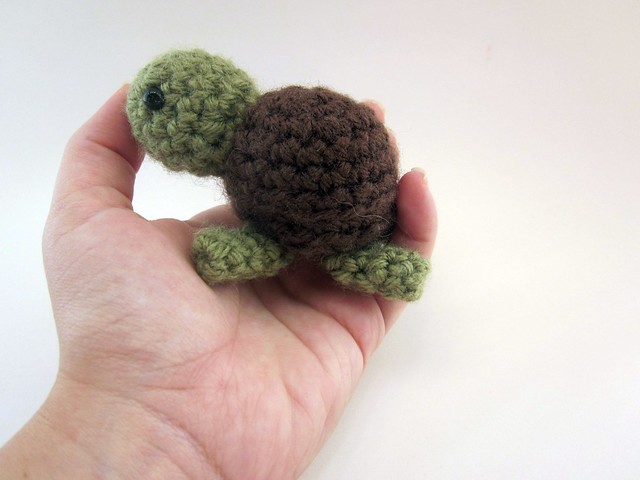
Tiny Turtle

He's so so so super-cute.  The author actually includes a pattern for a large momma turtle that these little babies (and some egg shells) can nest into.  Cool, right?  Yeah, I never made the momma.  My attention span just didn't allow for it.

Turtle in palm

It was a cute book and the author created very clear and concise patterns.  I just love amigurumi.  The counting is soothing and it's nice to be challenged occasionally by actually having to pay attention to a pattern.

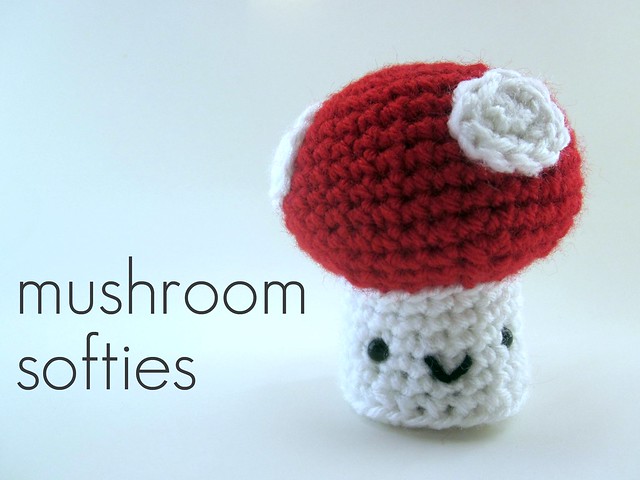
Mushroom softies

I'm thinking about using this little toadstool in some yarnbombing.  Like this:

{Source}

That'd be awesome to see on a park bench, right?!

Much love! 
Tristin

 (And if you want some yarnbombing inspiration, check out my Yarnbombing Pinterest Board.)


Day 11: Crocheted Snow-Covered Ornaments with Winkieflash of A Creative Being

Hello crafty pals and welcome to day 11 of the 12 Days of Christmas Series. Today, we have some awesome crocheted ornaments from Wink of A Creative Being. Without further ado...


This is the pattern I use to make Christmas ornaments with. It's fun, easy and fast. Let's get started! :)

What you'll need:
  • Regular, colored yarn, and white yarn. You can use whatever yarn you want, as long as the colored yarn and the white yarn are the same weight. (or close enough)
  • Sparkly yarn! For this pattern I used silver yarn (Lumina by DMC)
  • Stuffing. I use polyester filling, but you can use whatever you want, for instance yarn scraps!
  • Hooks. Use the appropriate hook for your yarn, and then go down 1 size. Because we will be stuffing the ornaments, you need a tight fit.
  • Stitch markers. You're going to be working in the round, so you'll need a marker to keep track of where you are.
  • A pair of scissors.
  • A darning needle, to weave in the ends.
  • The Christmas album of She & Him. Trust me, it's so relaxing to crochet by, and a must to get you in the right mood! :)

The terms I use are all US terms. This pattern consists solely of single crochet stitches, which are double crochet stitches for you UK people.

Alright, got everything? Here we go!

For this pattern, I'm going to use an existing crochet sphere pattern. It's written by Emily Premise-Conclusion, and I got it from her Ravelry page here. If you have a different sphere/ball pattern you'd like to use, go for it! :)

For this pattern and the yarn I'm using, which is Stylecraft Special DK, I'm using a sphere pattern that consists of 22 rows. The ornament will measure about 3 inches.

When it says 'inc' in the pattern, increase; make 2 single crochet stitches in 1 stitch. Where it says 'dec', decrease; single crochet 2 stitches together (sc2tog). I always use an invisible decrease. If you don't know how to do this, check this out.

With the colored yarn, we're now making the bottom halves of the sphere. If you're using a different pattern from mine, just follow it until you get to one row before the middle row.
  1. Start with the colored yarn. Crochet 6sc in a magic circle, or ch2, 6sc in 2nd chain from hook. (6)
  2. inc in each stitch around. (12)
  3. *1, inc* around. (18)
  4. 1, inc, 2, inc, 3, inc, 2, inc, 3, inc, 2 (23)
  5. inc, 4, inc, 3, inc, 4, inc, 3, inc, 4 (28)
  6. 3, inc, 6, inc, 6, inc, 6, inc, 3 (32)
  7. 1, inc, 7, inc, 7, inc, 7, inc, 6 (36)
  8. 6, inc, 11, inc, 11, inc, 5 (39)
  9. 8, inc, 12, inc, 12, inc, 4 (42)
  10. 15, inc, 26 (43)
  11. inc, 42 (44)
Cut the yarn but leave a little tail. Don't fasten off. Okay, that's it! You now have a colored bottom half of a sphere. I made a couple of bottom halves in different colors.


Now onto the really cool part! With white yarn and the sparkly yarn, we're now going to make the snow layer of the ornament.

So, with white and sparkly yarn attached, go as follows:
  1. Crochet around (44), using a spike stitch. If you don't know how to do this, check this out. Basically you're just making sc's, but you're inserting your hook into a different row, below the one you're in. I've done cascading spikes all around the bottom half. So I started 1 row below, then 2, then 3, then 4, then 5, and then back up again in row 4, row 3, row 2, row 1 and finally in the actual row.
    See how this creates the illusion of snow falling? You can vary your own spike stitch by making it more random, or leaving it out completely at some places. You're in charge! :)
  2. That was basically it. Now all you have to do, is complete the sphere. If you're still on this pattern, go as follows:
    42, dec (43)
  3. 26, dec, 15 (42)
  4. 4, dec, 12, dec, 12, dec, 8 (39)
  5. 5, dec, 11, dec, 11, dec, 6 (36)
  6. 6, dec, 7, dec, 7, dec, 7, dec, 1 (32)
  7. 3, dec, 6, dec, 6, dec, 6, dec, 3 (28)
  8. 4, dec, 3, dec, 4, dec, 3, dec, 4, dec (23)
  9. 2, dec, 3, dec, 2, dec, 3, dec, 2, dec, 1 (18)
    You can start stuffing now.
  10. *dec, 1* around (12)
  11. *dec* around (6). Fasten off, leaving a tail. With the tail, weave through each stitch in the opening. Pull tight to close.
And that's it! You've created your first snow-covered Christmas ornament :)


Wait, what is that you say? It doesn't look very Christmassy? Well, you're right. It needs something else! :)

Now we're going to make that little thingie on top with the loop in it, so you can actually hang this in your tree.
  1. With the sparkly yarn, crochet 6sc in a magic circle, or ch2, 6sc in 2nd chain from hook. (6)
  2. inc in each stitch around. (12)
  3. Sc around two times, so you end with 4 rows.
Finish off and leave a tail. Now pull the first tail through the center to create a loop, and tie the end to the other tail. Like this:


Now using the tail we left at the end, sew the loop thingie to the top of the ornament (the white part). And that's it! A completed ornament :)


Now you can easily adapt this pattern to make all kinds of ornaments. A couple of examples?

For instance, you could use self-striping yarn to create a stripy ornament:

Or use gold sparkly yarn and colored yarn to crochet a sphere:

Use rich, velvet yarn (which was impossible to photograph well!):


And if you crochet in the backloops only, you'll get a ridged ornament!

The possibilities are endless; let your mind go wild this holiday season! :)

xo,
wink

Amigurumi Tea Set (and an awesome party!)

Junebug and I recently went to her first "real" birthday party.  Let me qualify what I mean by "real"--it wasn't a family member's birthday party and it wasn't a one-year old "I-have-no-idea-what-the-heck-is-going-on-here" type birthday party.  It was a party that Junebug was invited to by one of her library time friends and this time, Elliott knew what a birthday party is (translation: there will be cake!) and was super-excited about it (again: there will be cake!).

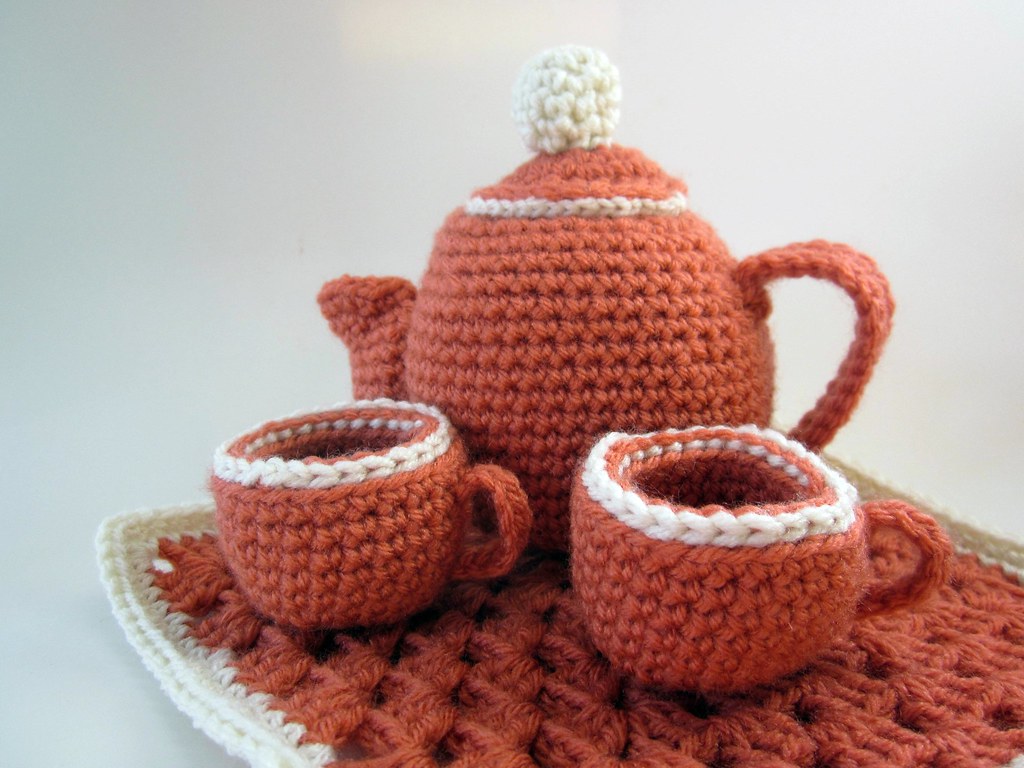
For the birthday girl, I opted to make a gift since I had time and an itch to try my hand at an amigurumi tea set.


It came out great despite the fact that I was less than thrilled with the pattern I bought on Etsy.  I've never had a bad Etsy experience before, so I was shocked to know that it was possible.  For this reason, I won't be sharing which pattern I bought--but in the end, with some tweaking and note-taking, it worked.  Not only was the pattern poorly written, it took the seller over 3 days to email the pdf when the shop stated that I'd have it within 24 hours.  I was more than slightly annoyed.  I much prefer instant gratification.  Who doesn't?


The tea cups were my favorite part.  They're double-walled and surprisingly sturdy.   Perfect for teddy bear tea parties.  I'm planning on making a set for Junebug for Christmas but in a multi-colored way like this Anthropologie set that I pinned.

The birthday party itself was a blast!  The theme was Alice in Wonderland in the most awesome way possible.  The birthday girl, Kylie (you may remember her from her Medusa costume) was the perfect Alice and her momma did a great job making a special and memorable party for her.  Kylie's mom is also an amazing photographer--I ran across this collage she made and couldn't resist sharing (especially since Junebug is sitting with the birthday gal on the main picture).


 Since it's most of our un-birthdays, I wish a very merry un-birthday to you!

Tristin

Real candy corn is terrible. Crocheted candy corn is awesome!

My love of amigurumi is in opposition to my very nature.  I don't like stuffed animals, I'm somewhat morally opposed to even the cutest of tchotchke and I really don't like tedious crafts.  But I LOVE amigurumi.  Ahh.  Amigurumi.

amigurumi candy corn

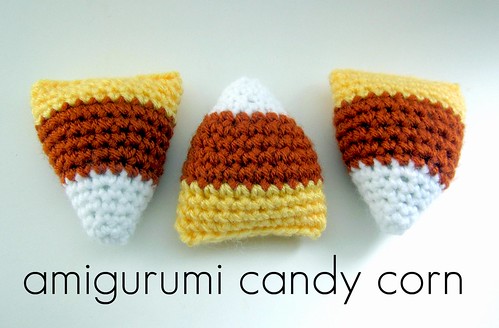
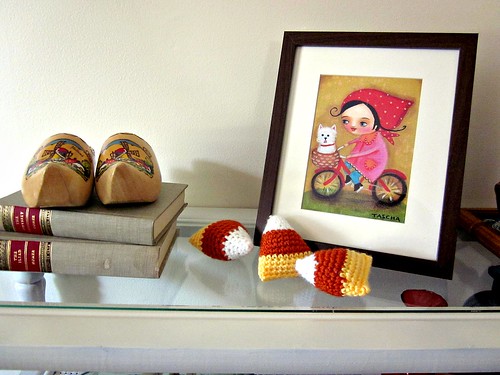
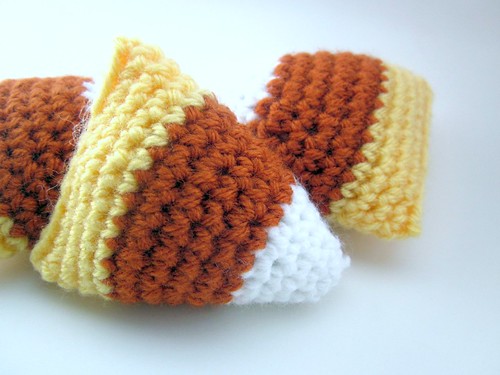
For no particular good reason, I made some amigurumi candy corn.  I really don't like candy corn, but it just seemed like the right thing to do.  (How many more things can I list in this post that I don't like?  Mayonnaise, Starbucks, bullies, seams in socks, artificial sweeteners, science fiction... yeah, I could keep going.)

Candy Corn Amigurumi

But as much as amigurumi defies my nature and as much as I dislike candy corn--aren't these little guys so cute?

candy corn

They were made using this free pattern from Lion Brand Yarn.

Junebug has been stuffing them into her pockets and you should hear how cute it sounds when she says "candy corn".

I'm thinking that we're going to pass these little candies out to the babies at church.  Junebug is going through the "mine!" phase of toddlerhood and so in the spirit of breaking that disgusting "MINE!" habit (yeah, it seriously makes me crazy) I think it will be quite nice to have her assist in giving a few small toys to others.  Maybe it'll go well, maybe it won't.  We'll see.  Either way, we're going to give a few things to others and see what we accomplish.

Tristin Signature

P.S.  If you can crochet but have never tried amigurumi, this candy corn pattern is a great one to start with.

P.P.S.  THANKS for voting for my cowl @ the Maybe Matilda crochet along.  I came in third place and won some fabulous crochet patterns!  (Read about the winners here.)

Sugar and Spice and Everything Nice


It seems as though every baby gift I have bought or made since Junebug was born has been for a little boy.  I mean, boys are great and all but it sure is nice to craft and shop for little girls!  Just when I was growing tired of little boys, my Uncle and his wife welcomed a sweet baby girl (named Sharon--how 'bout that Sharon?!) into the family.

For the latest bundle of joy I made a cute little hat and later picked an outfit to match it (thanks Target!).

P.S. Please forgive the poor photographs.  I tried to spruce them up in Picnik but even Picnik couldn't help my poor photography skills this time around.  I'm a crafter, not a photographer.  Obviously.


The hat pattern I used is the trusty Girl in Air's Happy Halloween Hat.  Works like a charm every time!

Of course, I couldn't resist the opportunity to practice my amigurumi skills so I made a cute little duck, too.  (I like to keep my hands busy while I watch Seinfeld reruns late at night.  Then I don't feel guilty and unproductive.)

Gift Basket

Perfect for a little girl!
 Tristin Signature

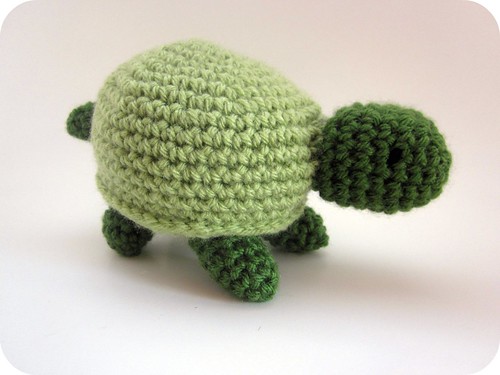
Amigurumi Turtle

Amigurumi is my new obsession.  In a few short hours you can create a precious, soft, and simple toy.  Crochet is the bestest craft ever!  (And amigurumi is so much easier than it looks!)


I found the pattern for this turtle on the Lion Brand Yarn website. It's FREE and it recommends Lion Brand Vanna's Choice yarn, which is my favorite!

He's going to be a gift for some friends who are having a baby boy, but in the meantime Junebug and I stare at him adoringly.

Tristin Signature

Easter Recap

I can't believe Easter is already over.  I feel like it's practically Christmas.   Does anyone feel me??

Easter 2011 023


Anyhow, we had a wonderful Easter.  Holidays like this are so enjoyable with kiddos.

As for the things I made for Easter...


Junebug's dress was made using the Charlotte Dress "method" over on Craftiness is not Optional.  Umm, brilliant tutorial!  I overcame my fears and sewed an invisible zipper into the back of the dress-and you know what??  It was pretty easy!


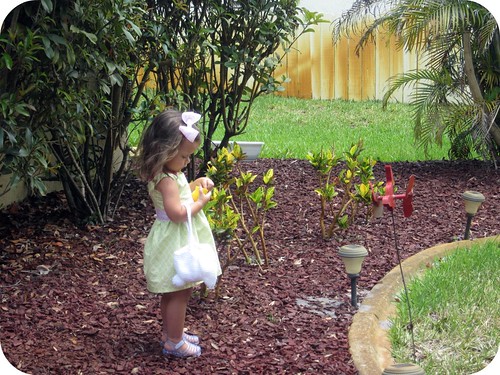
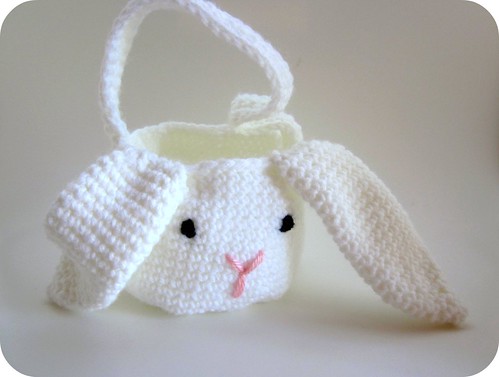
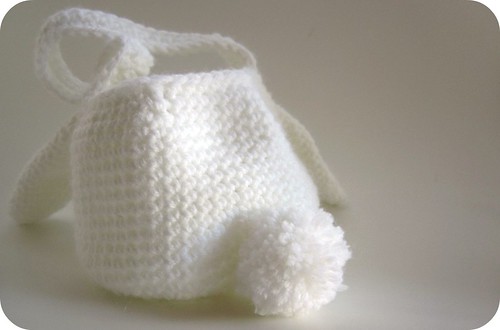
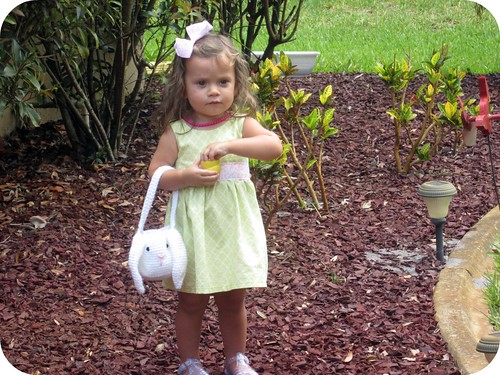
I made this amigurumi Easter basket using a free pattern offered by Lion Brand Yarn.  Their website offers tons of great (and free) patterns. My favorite part is the pompom tail.  SO cute!


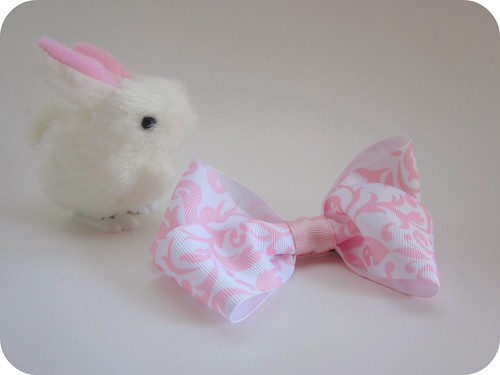
This hairbow was created using a tutorial from Midwestern Moms.  Fast and fab!


Isn't she precious?  Junebug loved hunting Easter eggs.  And I loved watching her.


Tristin Signature

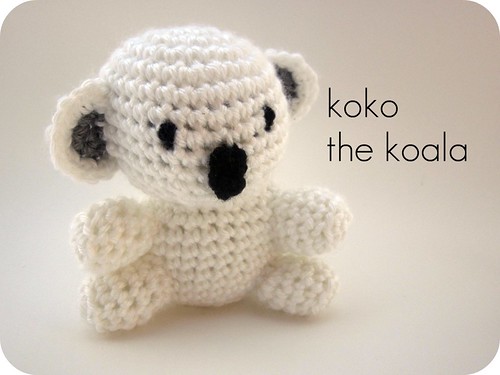
My first Amigurumi - Koko the Koala!

So maybe I can't say the word "amigurumi" without stumbling over it, but I learned that I am actually capable of crocheting one of these little cuties.  Amigurumi is something I've wanted to try for quite some time so yesterday I picked up a hook and yarn and got down to business.

koala Amigurumi

Isn't he precious?  I named him Koko because my hubby's Uncle and Aunt have a dog named Cocoa and it's SO cute when Junebug says it out loud--I wouldn't mind hearing her say Koko all day long (it's better than her usual word, "NO"!).  I found him on Craft Passion, though the actual pattern comes from Woman's Day.  Craft Passion offers may great tips for making the little guy successfully.

If you're a crocheter and have been scared of amigurumi (like I admittedly have been) then it's high time you try it.  If I can figure it out, you can too.

Koala Amigurumi

I inadvertently shifted to the "head" directions while making the "body", so Koko's body is a bit misshapen.  No biggie.  To me it wasn't worth re-doing because it didn't look terrible (again, I'm a Type "B" crafter).

Amigurumi 009

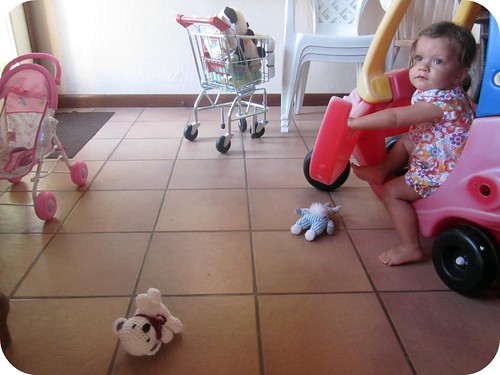
I gave the koala to Junebug first thing this morning.  She's obviously very appreciative.

Tristin Signature


P.S. I found a blog that posts daily with free Amigurumi patterns--it's a great place to browse if you're interested in exploring the craft.  The site is aptly named Free Amigurumi Crochet Patterns.
Related Posts Plugin for WordPress, Blogger...