This Christmas, my brother's wife and I committed to only make handmade gifts for one another. One of the projects I chose to make for her is an embellished canvas bag. I always pass by the canvas bags at Hobby Lobby and feel inspired, and keep on walking. But when I saw the plain canvas bags on sale, I snatched 'em up and was immediately flooded with ideas on how to decorate the blank canvases...
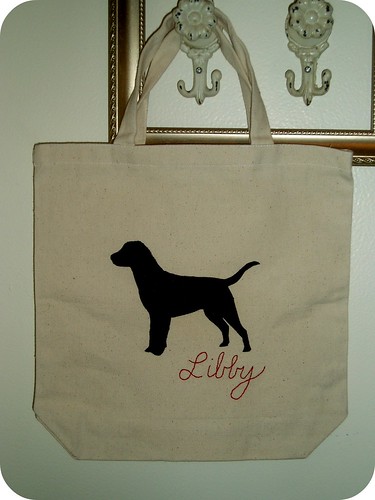
Here is my favorite completed bag:
I settled on using freezer paper stencils. There are about a million freezer paper stencil tutorials out there, so I won't bore you! Craftster has a very straightforward tutorial here. It's a great craft for those who are not "crafty" because it requires very little in the way of specialized tools--and very little skill, too!
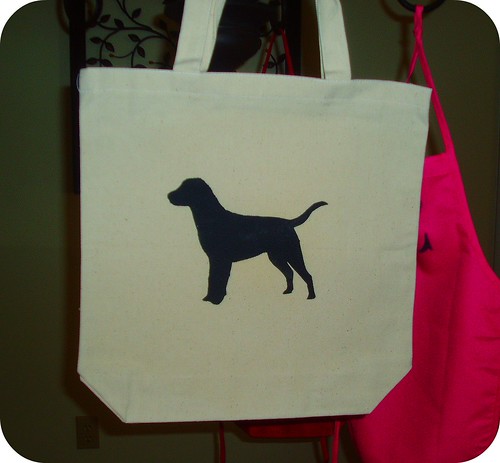
To find the Labrador silhouette image, I simply did a google image search. Pretty easy, right? Then I followed the instructions from Craftster. Here's what I ended up with:
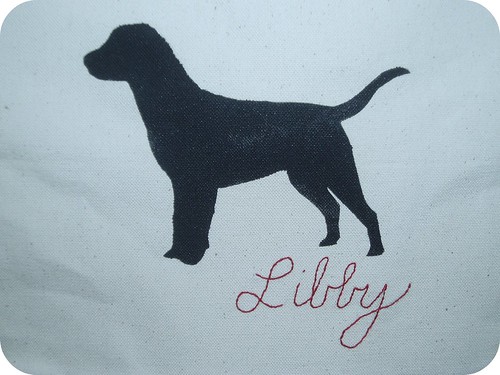
It looked pretty plain to me, so I pulled out my stash of embroidery floss and got to work. If you're new to embroidery, Jessica from Sew Homegrown recently had a guest provide an embroidery primer, complete with some really great links.
Using a backstitch, I wrote the name of my brother and sis-in-law's lab, Libby (short for Liberty).
Don't you think it really livened up the bag?
I think that any dog lover/owner would be thrilled to get a bag like this with their favorite breed on it. The embroidery adds a very special "custom" touch.
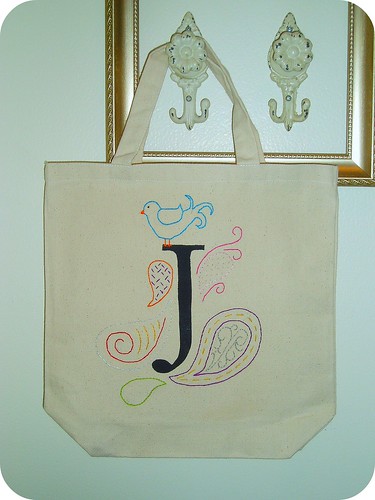
After making this bag, I realized it was a bit more dog-centered than I'd anticipated, and I thought my sis-in-law would appreciate one that was focused a bit more on her. So, I found a great website that offers free printable alphabet templates and downloaded her initial. I embroidered some paisley shapes with bright colors, and was quite pleased with the funky bag that resulted.
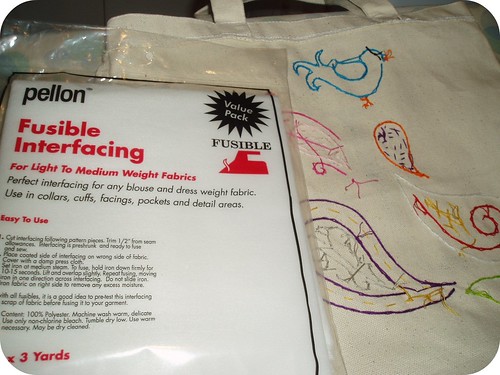
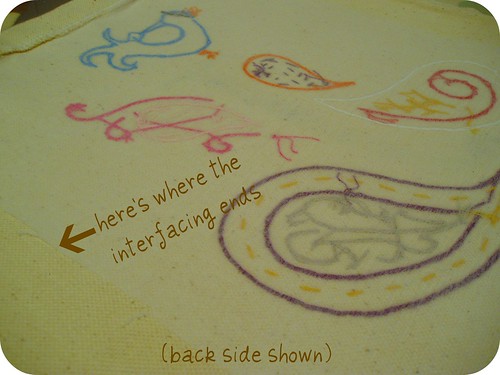
The only problem left to tackle was the ugly backside of the embroidery. You know, the knots, the weird looking stitches, etc... To handle that problem, I looked to my sewing notions drawer and grabbed some fusible interfacing.
The bag is turned inside out, showing the funk that was hiding inside the bag. The strings on the back could easily snag and break once the bag has been used a few times if it's not covered. I cut a piece of interfacing big enough to cover the area of gnarly stitching and ironed it on according to the package instructions. Voila! A usable AND gorgeous canvas bag (if I do say so myself!).
If you're still struggling for last-minute gift ideas for the holidays (or any occasion) these bags are really simple, quick, and inexpensive--and thoughtful, too.
As always, questions, comments, and constructive feedback are appreciated!


And Jennifer and Liberty loved them!
ReplyDeleteWhat a fantastic idea!!
ReplyDeleteThese are both so pretty! The first one is perfect for any animal lover in their favorite breed!
ReplyDeleteI love love love freezer paper stenciling. I love how it turned out!!
ReplyDeleteI'm hosting a giveaway right now that you might be interested in!
Wow. I love LOVE L.O.V.E. those bags! Especially the initial one. I use heat transfer vinyl with my vinyl cutter to cut out designs for bags, but adding the embroidery is such a fantastic look!
ReplyDeleteI hope you'll come over to my blog. Last day for a vinyl giveaway!
www.uvinyl.blogspot.com
these are all fabulous! thanks for much for sharing them at a crafty soiree!
ReplyDeletemalia
www.yesterdayontuesday.com
I know this is a late comment to this post - but I jsut found your blog and am goign through the archives :)
ReplyDeletequestion 1: is freezer paper the same thing as wax paper?
2: what kind of paint did you use to paint your stencils?
Thanks...
And by the way, I can spell.... but my typing skills didn't show that in my previous comment. Whoops!
Delete