Pages

Showing posts with label sewing. Show all posts

Oliver & S Popover Sundress

I was recently asked by a lady from church "So, do you sew clothing very often for your girls?"

In an ideal world, my answer would be: "Yes, everything they wear is handmade with love".

The real answer is something like this: "No way José."

How's that for honesty?  I'll go even further and explain why in unnecessary details, because what is a blog without unnecessary detail?

1. Elliott initially hates anything I make for her.  No joke.  (Proof: see here and here.  Just because she's aged doesn't mean she's any better.)
2. We're given SO much clothing by family and friends.  It's kind of a waste to have more.
3. I'll flip if it gets ruined.  And you probably wouldn't want to witness that.
4. Typically costs WAY more that buying off the rack. (Anyone love the Gap Kids clearance racks like I do?  Holla!)
5. No guarantee of quality or cuteness.  (That's a lot of pressure!)
6. Whenever I sew, my world crashes down around me.  I forget to feed my family, I don't do dishes or keep up with housework, and then...after all the trouble... see #1.   


Last year though, I made the Oliver and S Popover Sundress  for Elliott.  The pattern is free (yay!) and it is quick and simple to sew.  She wore it once (begrudgingly) and apparently it has been shoved into the back of a drawer ever since, wadded up and forgotten.  

When I was picking through her clothing this morning, I stumbled across a hint of familiar green seersucker and decided that this dress would be worn a second time. I prepared myself mentally for a massive throwdown, and I kid you not, I walked into the living room and handed Elliott her clothing and she replied "Oh, I looooooove this dress!".

Well.

So, here, after months have gone by, someone appreciates my hard work.  Naturally, this had to be documented.


Little sister is modeling her big sister's hand-me-down Target mix-n-matches, which, despite their cheapness are virtually indestructible, and again this is very demoralizing in the sewing arena.  The bunny that Bennett has shoved in her mouth is affectionately (and truthfully) called "stinky bunny".  It's rarely very far from her grasp, which is unfortunate, because it sure could stand to be washed daily based on the amount of love it receives.

You know, the human spirit never fails to amaze me.  After just one little glimmer of Elliott's appreciation, all I can think about is sewing.

(For the sake of details--I purchased the seersucker at Joann a few years ago and used scraps of navy blue cotton for the yoke.  I had a small scrap of white piping and added it under the yoke for detail.  I used the 3T size with a 4T length, as the dress is very easy to customize.)

Lessons learned by a first-time quilter.


A million years ago, when I shared my first quilt I promised a "lessons learned" post. Well, here it is. Let's jump in...

Lessons Learned:

Quilts can be expensive. Maybe the quilts of the pioneer days made use of fabric from old clothing and such, but the typical modern quilt is expensive.  It's been a while since I did the math, but my first quilt cost somewhere between $150 and $200 (but a fraction of the supplies, like bent safety pins and extra bobbins can be reused).  It's funny because I was planning on getting Elliott a duvet from Pottery Barn for her bed, but I thought it would be too expensive by the time I purchased the duvet cover and a reasonably priced duvet (from Ikea).  I'd have been better off with that purchase, especially when you consider the unknowns of making your first quilt (i.e. Will it even be usable?).  However, no mass produced duvet cover, no matter how classy it may be, can compare to even the most humble of homemade quilts. That's a fact, Jack.

Move fearlessly forward.  Go ahead, bite off more than you can chew--you are smarter than fabric, after all. Go big or go home, y'all.  And get acquainted with your seam ripper, if need be.  No biggie.

You don't need a whole lot of special supplies. You may want to make sure that your sewing machine is serviced and in great working order and that you have the necessary feet to make quilting easier, but other than that, I'd try to make the best of what you have.  I am still feeling silly for buying a million bent safety pins when oddly enough the large-sized plain ones I already had were actually easier to use and yielded great results. (One reader has said that this safety pin thing was not true in her case and that the bent ones were worth using.  So, take my thoughts with a grain of salt!  I am a total noon after all, sharing only lessons from my first quilts.)
Learn the capabilities of your machine and be prepared to buy a new foot or two. If you plan to free-motion quilt, you'll need to make sure your machine is capable of it and that you have a proper foot.  For my vintage machine (Singer 401A) I had to buy the darning/embroidery foot which, including shipping, was under $3. Straight line quilting would also be awesome for a first-timer (in fact, that's probably a better route to take) and a walking foot makes it a cinch.  But fancy quilting gloves, specialized cutting rulers, etc. can hold off be purchased if your passion grows (and don't be surprised if it does).


Take time to think about what {you} value in a quilt.  I wish I'd know that patchwork is more my style, not so much the route that I took with my first quilt.  In fact, I'm currently saving all of my girls' cotton clothing (not knit cotton, more like the stiff quilting-type fabrics) to make a quilt with once girl #2 has grown out of the clothing.  Laura Ingalls Wilder-style.  I think it'll be super-cool to make a quilt from clothing that both of my girls have spent their first few years wearing. Live and learn, right?

Read about Leah Day and be confident.  In a few short years, this young woman has revolutionized free motion quilting.  Certainly us newbies can figure this out too, at least to a small degree.  She's amazing, and I'll bet she doesn't even have a gray hair yet.  Lucky.

{Wavy Line Whole Cloth Quilt}

Consider whole-cloth if you want some fun practice but you're not ready to tackle something massive. Whole cloth quilting is basically sandwiching two pieces of uncut, un-pieced, unharmed fabric and quilting away.  I found it to be good practice for the actual quilting process, as well as binding practice. Goodness knows I need more binding practice before I tackle another massive quilt.  I've now made two whole cloth quilts as baby gifts, and I'll definitely make more in the future. Whole cloth quilting is significantly less expensive than traditional quilting because there's no waste--so it's a smart choice if you're on a budget and don't have access to scraps.

{Intersecting Lines Whole Cloth Quilt}

So, those are my thoughts. Hopefully it's been helpful if you're considering starting a quilt.  If you're an old pro, maybe you disagree.  Feel free to lovingly share in the comments!  Gone are the days of the quilting bees where us can learn under the wing of the pros, so the Internet proves useful in connecting novices and seasoned professionals.

Go forth and quilt!
Tristin


Quilts for Bennett


Still no baby.  But while I know some of you are looking forward to baby pics, the only thing that could possibly come in as a close second is pictures of beautiful handmade quilts.  Lucky you, I have three to share!

We are blessed to have many people who love us and are excited to welcome little miss Bennett.  People share their excitement in many ways--and personally, I love that some people share their excitement in the form of handmade gifts.  Especially quilts.


My gal pal Laura (who you may remember from several guest posts) made this awesome simple and humorous quilt.  It's modern and clean, and she hand stitched whimsical swirls and flowers (which is not shown in my pic, unfortunately) all over the light green fabric.  Laura chose to leave the batting out of the quilt, as Bennett is being born in FLORIDA in JULY.  Does it get much hotter than that?  I'm a seriously sweaty pregnant woman.  I digress.  But seriously, don't you love the calm colors and the message?


This lovely quilt was made with love by a wonderful woman named Evelyn.  She used an awesome color combination that is so fun and feminine without being "pink".  I love the embroidered little girls on the light blocks.  They're very vintage looking and being stitched in bold red, they really "pop"!  It's seriously adorable.


Quilt number three is a double pinwheel pattern masterfully crafted by an avid quilter named Marsha that James works with.  I love the bright oranges and corals and eclectic fabrics all worked into a classic design.  It makes me smile every time I look at it.  When James brought it home, I laid it on the floor to take in its awesomeness and charm and immediately Elliott and our westie Brian started playing tug-of-war with a dog toy on top of it.  Marsha said that a requirement of receiving one of her quilts is that it must actually be used--not just looked at.  I agree, and I am glad to share that it was given a proper welcome into our home.  ; )

It amazes me how different each of these quilts is, but how much I love each one.  I like them all for different reasons and I treasure each of them and the women who created them.  I love the modern-feel, humor and calm colors of Laura's quilt, the girly vintage charm of Evelyn's, and the nod to classic quilts with the emphasis of a fun color scheme of Marsha's.

Isn't Bennett already a lucky gal?

Fabric Dollhouse

Fabric House

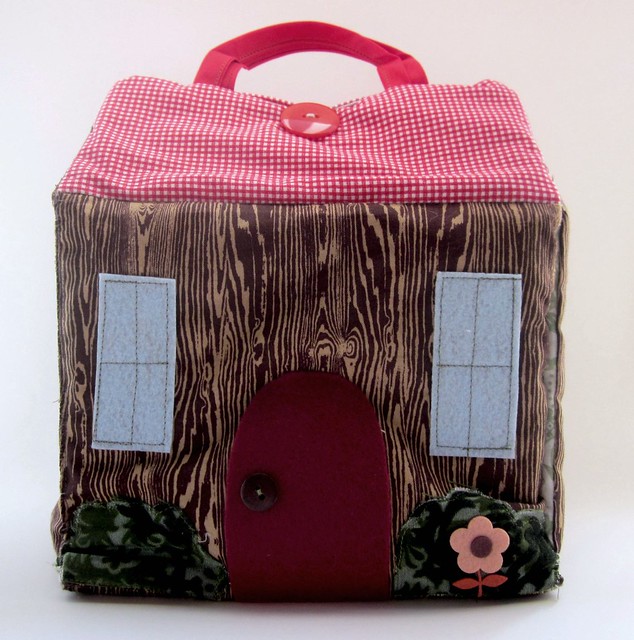
Hey crafty pals!  I wanted to pop in to share my latest sewing project--a fabric dollhouse for my little gal!  What fun it was to create, too.  I don't sew as much as I'd like to (primarily because it's SO much easier to just grab a ball of yarn and a crochet hook and watch Downton Abbey mindlessly) but I enjoy it every time I pop up the ol' Singer.

This is a project from UK Lass in the US, and what a fun one it is.  UK Lass even has a fun flickr group to check out for fabric dollhouse inspiration.  You have the ability to make it super simple or get super-fancy--whatever you have the time/skill/energy/supplies for.  What fun!  (Warning, once you look at the Flickr group you WILL want to make one!)

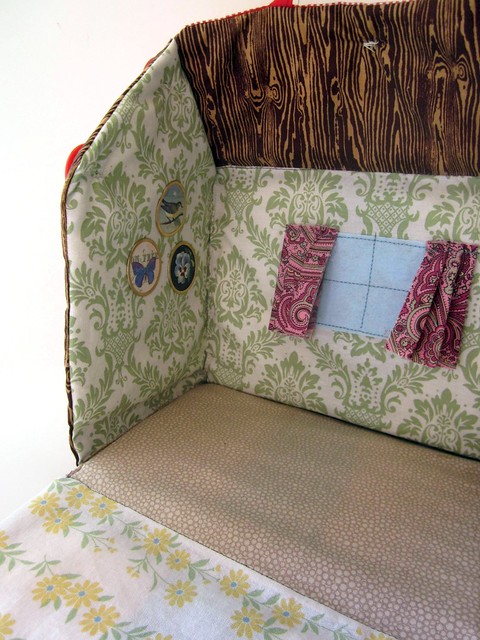
Interior of Fabric House

I used stiff felt from my stash for all of the windows.  The little framed decorations you see on the inner walls are paper scrapbooking embellishments that I used a heavy duty no-sew iron-on adhesive to attach.  It worked like a charm--this little house is over a month old and has been played with a lot and they're still just as strong as the first day I attached them.

The outer woodgrain fabric was the only fabric I purchased specifically for this project.  Really, I could have just used scraps that I had on hand, but I wanted a certain "look" so I bought a small remnant of this fabric on Etsy. The fabric is a Joel Dewberry design called Aviary 2 Woodgrain in Bark and was purchased from Etsy seller HB Fabrics (I highly recommend the seller).


Fabric house collage

The rest of the fabric used was scraps leftover from other various projects.  I know I have already said it, but I had so much fun designing this little house.  It kind of made me feel like a kid again.

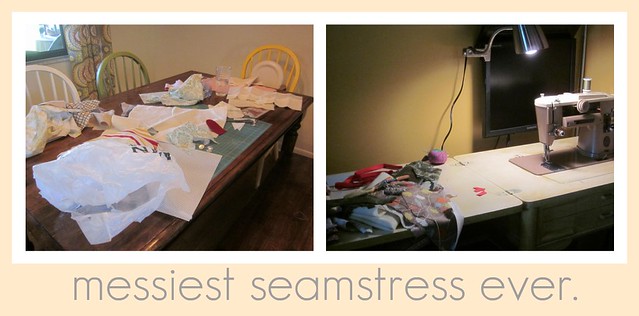
Messiest seamstress

Remember how I said that it's easier to grab a ball of yarn and a crochet hook than it is to pull out all the sewing stuff?  It's partly my own fault because I'm so very messy.  I just can't be a neat and organized crafter, no matter what I do.

April 2012 Crafts 005

I made some small errors (some fixable, some not) but overall, I'm not complaining because this project ended with a HAPPY child.  Seriously happy.

I'd estimate that this project took about 6 hours to complete (mistakes included).  So yeah, no plans for making another any time soon.   You've probably noticed that I'm way more into the hour-or-less category of projects.  A girl's gotta sleep sometime, you know?  

So, are you putting this project on your "to-make" list?

P.S. 9 weeks or so until baby Bennett is expected to arrive... The countdown begins!

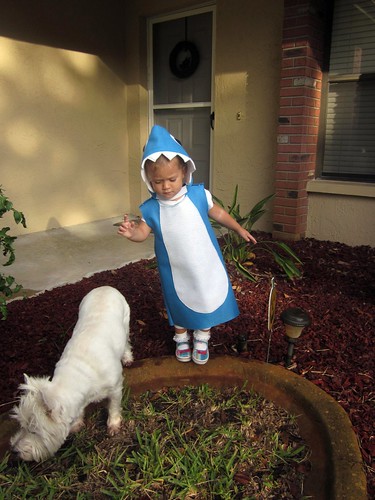
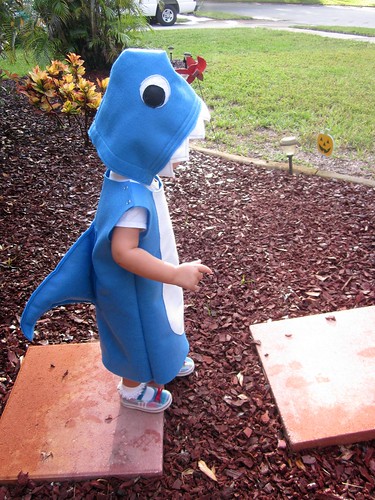
The Blue Shark!

If you read my often long-winded stories, then you'll probably remember the conversation I had with Junebug about her Halloween costume selection.

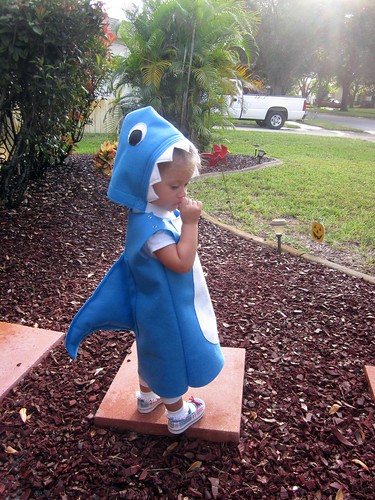
If you didn't read it, the conclusion was that my wee two year old had her heart set on being a blue shark for Halloween.  Why?   I'm still not really sure.  Kids sure are crazy amazing.  Seriously though, a blue shark?!

blue shark


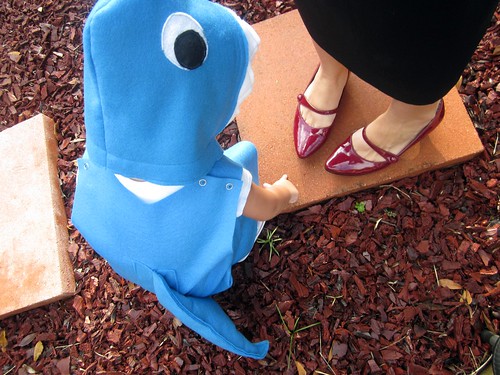
So, here's what I came up with.  I know it looks like a total goofy shark, but playful and silly is what I was going for.  I mean, it is a blue shark after all.  When's the last time you saw a scary blue shark during Shark Week?  Any shark attacks from blue sharks?  I think not.  Goofy was clearly the way to go.

shark and brian

I had no pattern--just a few ideas stored in my mind grapes (ahh, 30 Rock, please come back soon!).  Surprisingly, the costume came out just as I had envisioned it.  That almost never happens!

my little blue shark

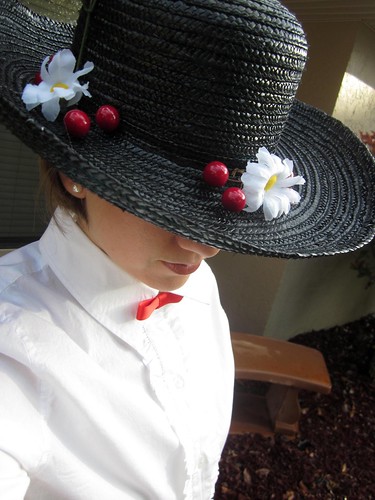
So, what did the shark's momma decide to dress up as?  Here's a small hint...


And another hint...

mp

The only word to describe my costume is "Supercalifragilisticexpialidocious".


Tristin Signature

Simple Skirt

Is it terribly obvious that I'm having a great time sewing with my new machine?  It sews like a dream and I love that during one naptime I can whip out a project like this little skirt.
simple skirt

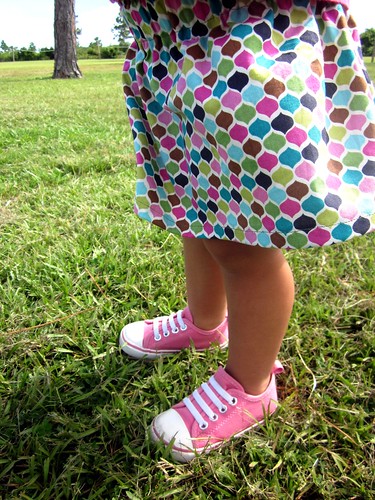
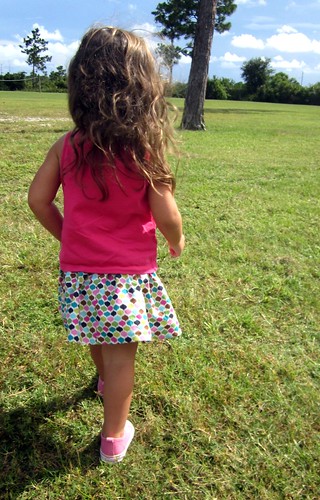
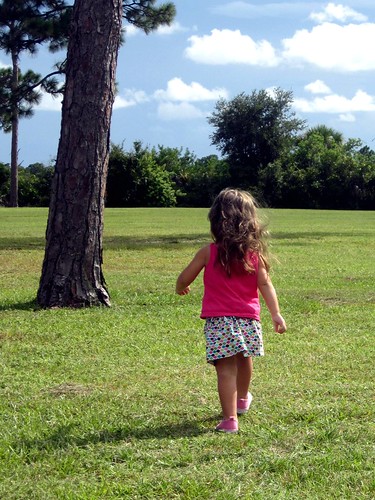
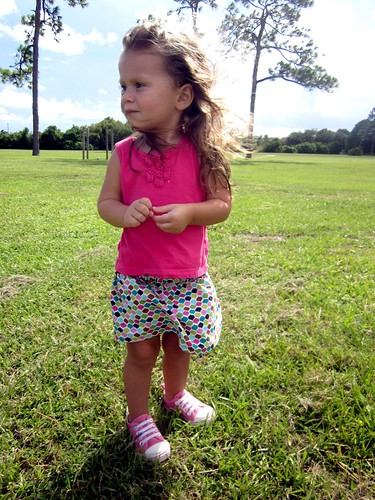
It was made using the Simple Skirt tutorial offered by Dana of made.  On her blog, Dana offers lots of free tutorials showing how to make simple and precious clothing for little ones.  If you're new to sewing (or even if you're experienced, for that matter) you should check it out for lots of inspiration.  Plus, her photography is striking and clean and gorgeous.  It's one of my favorite blogs.


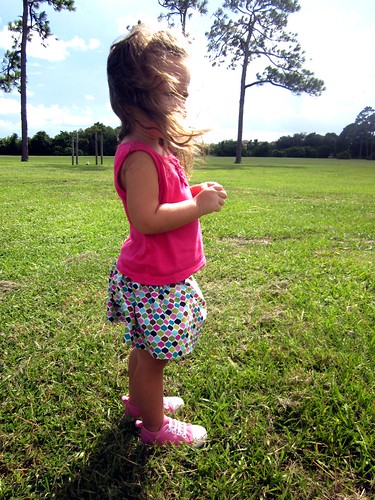
With quite a bit of typical resistance, I was able to get a few good shots of Junebug modeling her new skirt outside of our local farmer's market.  Well, she calls it a "skirk".  She also calls shirts "shirks", which we encourage because it's pretty much the cutest thing ever.  I'm not overly critical of her emerging language--I realize that pretty soon she'll be speaking fluently and I'll miss the days of cute toddler words like "shirk" and listening to her sing "a spoon full of sugar helps the lettuce-in go down".

simple skirt 1

simple skirt 2

simple skirt 4

simple skirt 3

My sweet little gal.  Sheesh, she's grown up so fast.

An on a completely unrelated note--what are your kiddos going to be for Halloween?  Junebug and I have differing opinions (go figure) on what she'll be for Halloween.  Of course she'll win, but more on that later.

Tristin Signature

Junebug's Jacket and a Heidi & Finn Pattern Giveaway!

Heidi and Finn has graciously offered to share a FREE pattern with two lucky readers--more info below!

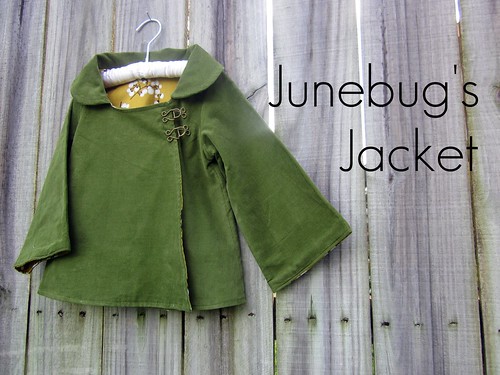
Junebug's Jacket

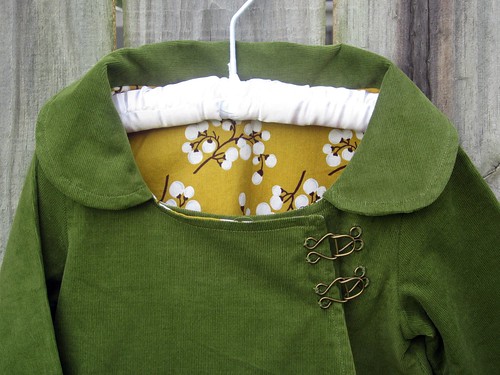
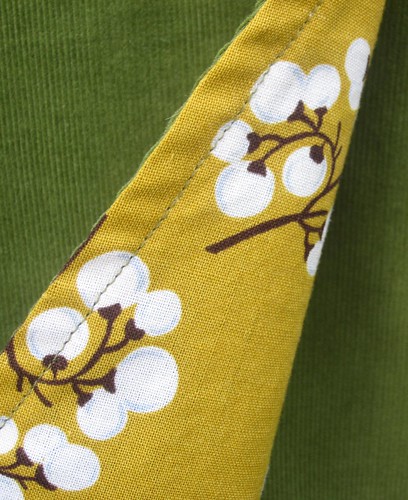
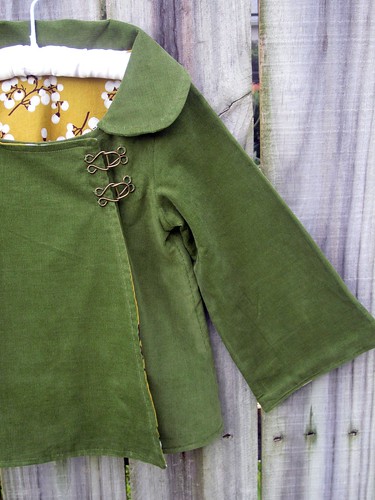
First of all, thanks to all of you who weighed in on the choosing of fabric for Junebug's jacket.  The general consensus was to use the mustard fabric as the lining fabric--which I was totally on board with!  (Have no fear, the other fabric will be used for an upcoming skirt.)  Once the jacket was constructed, I decided to use a hook and eye closure instead of the orange buttons.  I still love the orange buttons for this jacket, but the closure just needed to be slightly more dramatic than plain ol' buttons.  I am SO happy with the end result!


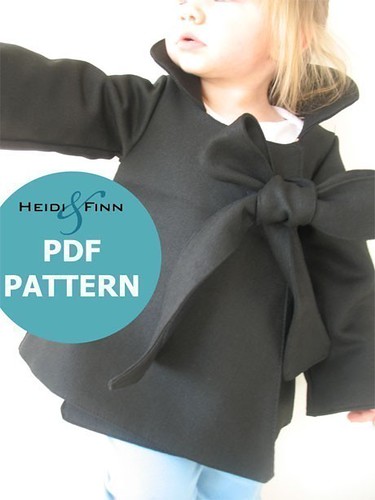
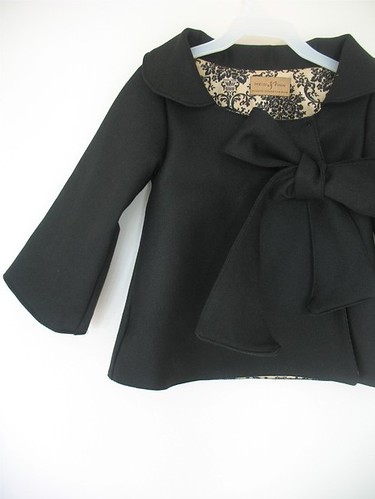
Swing JacketI shared before that the pattern was from the Etsy shop Heidi and Finn and boy, was it a good pattern.  The instructions were clear and concise and there were fabulous pictures that really made everything "click" for a new seamstress like me.  Heidi and Finn has graciously offered to share a FREE pattern with two lucky readers--read on for more info.


First, let me share Junebug's Jacket.  Oh, I am SOO excited!


Junebug's Jacket


Junebug Jacket 2

The closure is supposed to be a big fabric bow, but Junebug is not the biggest fan of big bulky pieces on her clothing so I adapted to suit her pickiness.  (I personally loved the bow featured on the pattern.)

Jacket fabric

Jacket

Love it, right?

You probably want to make one too, huh?  Well, folks, today's your lucky day!  Two lucky readers will win a pattern--all you have to do is:

2. Leave a comment on this post!

The giveaway will be open from now until Saturday, September 24th at midnight E.S.T.  One entry per reader, please!

And I wouldn't hate feedback on Junebug's jacket.  In fact, I'd love it.

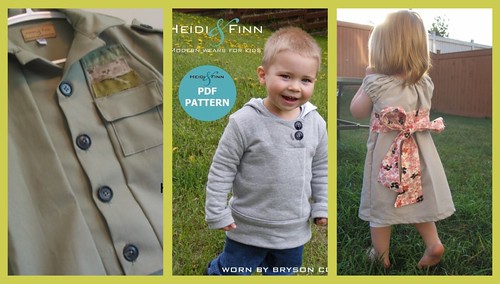
Take a peek at a few of the other patterns you'll see in Heidi & Finn's Etsy shop:
Heidi and Finn collage

Yay for giveaways!  So, what are you going to make?!

Tristin Signature

P.S. Please be sure that you leave an email address if your email address is not associated with your Blogger profile.   Also, this giveaway is open internationally because it's a PDF that will be sent to your email address.

What would you do?

So, I may be slightly obsessed with sewing at the moment.  I've been working on some things and today I'm seeking your advice with a fabric choice.

Swing Jacket

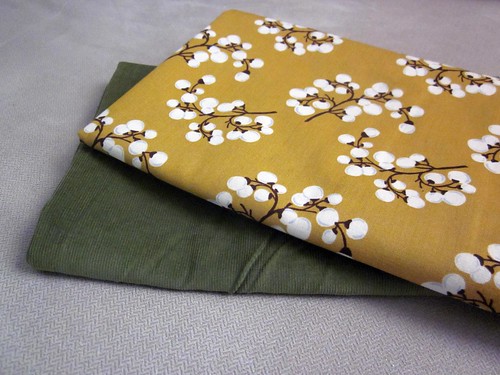
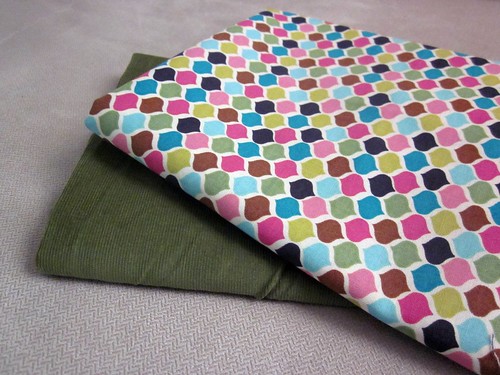
I found this precious coat pattern on Etsy and I'm making it for Junebug.  I've chosen the main fabric--a gorgeous green corduroy.  Green is Junebug's color.  It has always looked good on her so that was a simple choice.  But the lining fabric is another story.

Which do you prefer?

Choice 1 - Mustard yellow with cotton blooms


Jacket fabric 003

 Choice 2 - Multi-colored fabric in a fun pattern:

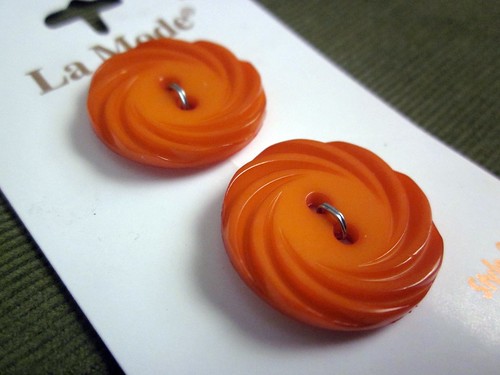
If it helps at all in making a decision, Junebug picked out some buttons for the jacket.  They're orange and I thought they'd look great with the green.  (She already has great taste!)  The jacket is supposed to have a big bow on the front for closing, but if I know Junebug, she'll fight that tooth and nail (possibly literally) so we're opting for a button front (more like a pea coat).


Dining Room 023 

Here's another view of the coat:

So, which lining fabric would you choose? Your feedback is greatly appreciated!

Tristin Signature

Easter Recap

I can't believe Easter is already over.  I feel like it's practically Christmas.   Does anyone feel me??

Easter 2011 023


Anyhow, we had a wonderful Easter.  Holidays like this are so enjoyable with kiddos.

As for the things I made for Easter...


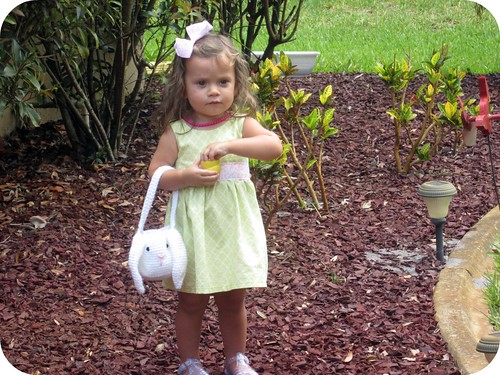
Junebug's dress was made using the Charlotte Dress "method" over on Craftiness is not Optional.  Umm, brilliant tutorial!  I overcame my fears and sewed an invisible zipper into the back of the dress-and you know what??  It was pretty easy!


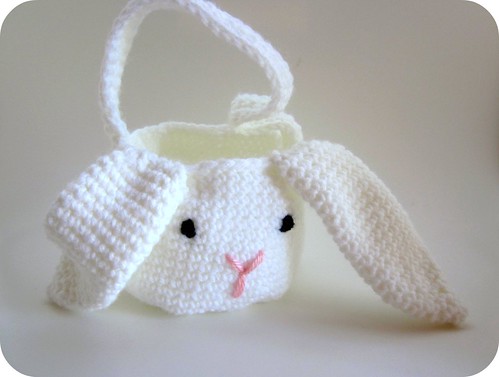
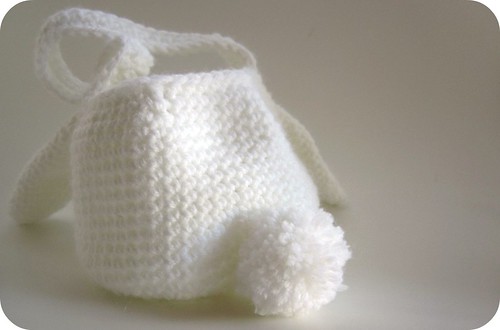
I made this amigurumi Easter basket using a free pattern offered by Lion Brand Yarn.  Their website offers tons of great (and free) patterns. My favorite part is the pompom tail.  SO cute!


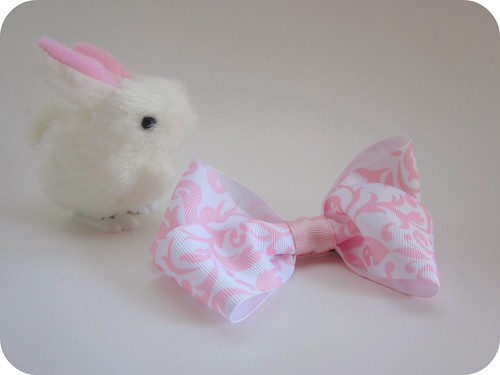
This hairbow was created using a tutorial from Midwestern Moms.  Fast and fab!


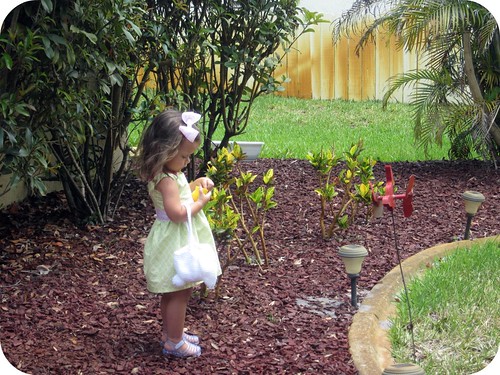
Isn't she precious?  Junebug loved hunting Easter eggs.  And I loved watching her.


Tristin Signature
Related Posts Plugin for WordPress, Blogger...