One chic new trend I'm falling for quickly (and have been for a while) is the adorable and simplistic bird shape that's been adapted into everything. Pillow appliques, precious baby room decor, wall art... you can seriously do anything with this cutie shape. So, I made magnets.
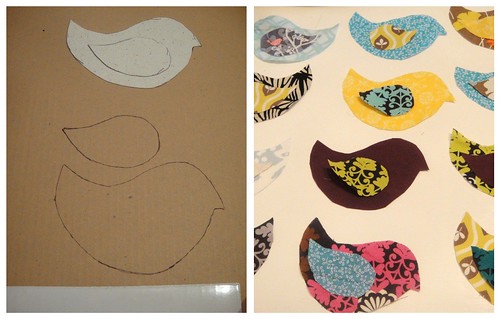
I used this bird shape as a template. I placed a thin piece of paper right on top of my laptop screen and traced it as is. Trace the wing as well. Don't forget to give yourself a seam allowance.
Then, I just cut out a cardboard template and traced the shapes (both the bird's body and wing) onto different fabrics. This is another great way to use up any scrap fabric you may have in your stash.
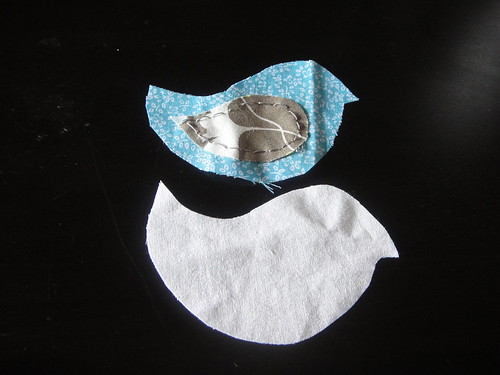
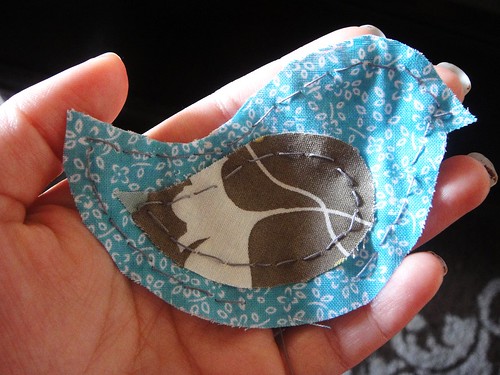
Trace and cut out a separate piece of fabric for the backing. Since you rarely see the back of magnets, I used a plain white fabric. Sew the wing on. (I hand stitched everything using a back stitch, but a sewing machine would have been nice..)
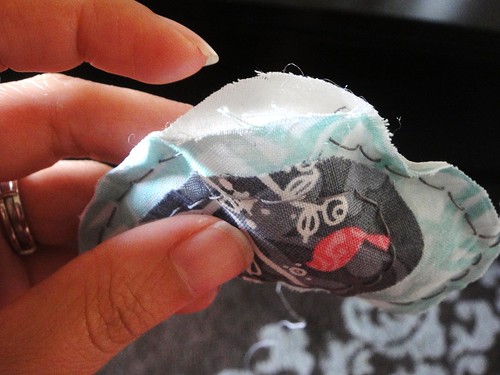
Now sew the backing on leaving a hole at the belly for a little bit of poly fill. You could definitely sew these birdies with the right sides together and then turn them inside out. I sewed the seams right on top because I like how it looks. It gives it a playful childhood feel. Or something. Let's not get too technical here - I just think it looks cooler.
Next step: stuff that fabric birdie! And then sew him up. Don't stuff it too full, or your little birdie will lose its shape, and then people will just look at your fridge and wonder why you have a colorful, fat blob as a magnet. Looking back, I probably would have just cut out one or two layers of felt and sewed them in as stuffing. I think that probably would have proved sufficient. But we learn from our mistakes. (And I have a few colorful, fat blob magnets to prove it. Poor birdies.)
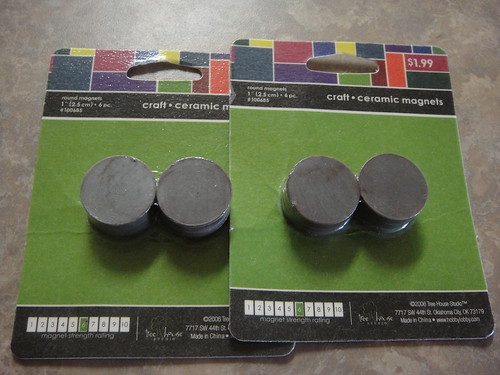
Finally, add magnets. I bought two packets of six magnets each (12 total) for around $4.00. It was the only purchase for the whole project. I hot glued one magnet directly to the back of each bird. But after having done so, my husband said "why didn't you just attached them to the fabric inside the birds so you can't see the magnet from the outside?" What a super craft genius. He's going to overtake me someday - you'll see. So, there are two ways of adding a magnet. (You'd better choose my way.) It's really up to you whichever option you choose. (But my way is better.)
And you're done! Enjoy your birdie magnets!!
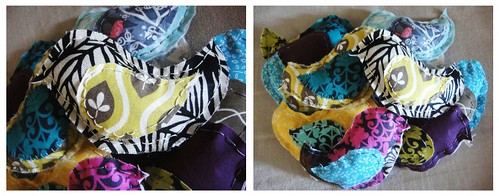
Yes, maybe I went a little overboard and made too many magnets.
I was powerless over all of the cuteness going on!
Yes, maybe I went a little overboard and made too many magnets.
I was powerless over all of the cuteness going on!
XO,



These are too cute! My girls are going to love playing with these on our fridge. Thanks for the idea!
ReplyDelete-Steph
Ok...once again...totally stealing this idea. Just last night I was marveling at all of the round magnets I've bought, wondering what I could do with them.
ReplyDeletewhat a genius husband!
ReplyDeleteyou guys are so creative!!!
ReplyDeleteI love all your projects!!!
Great idea! I made these into ornaments for party favors. I used the same fabric for the front and the back since you could see both sides, and put a tiny bit of poly-fil in the wing before I sewed it up. I also added a button for an eye. Thanks for the inspiration!
ReplyDeleteggdb
ReplyDeletesupreme
kd12
jordan outlet
kyrie shoes
off white
off white
off white hoodie
goyard outlet
goyard store