


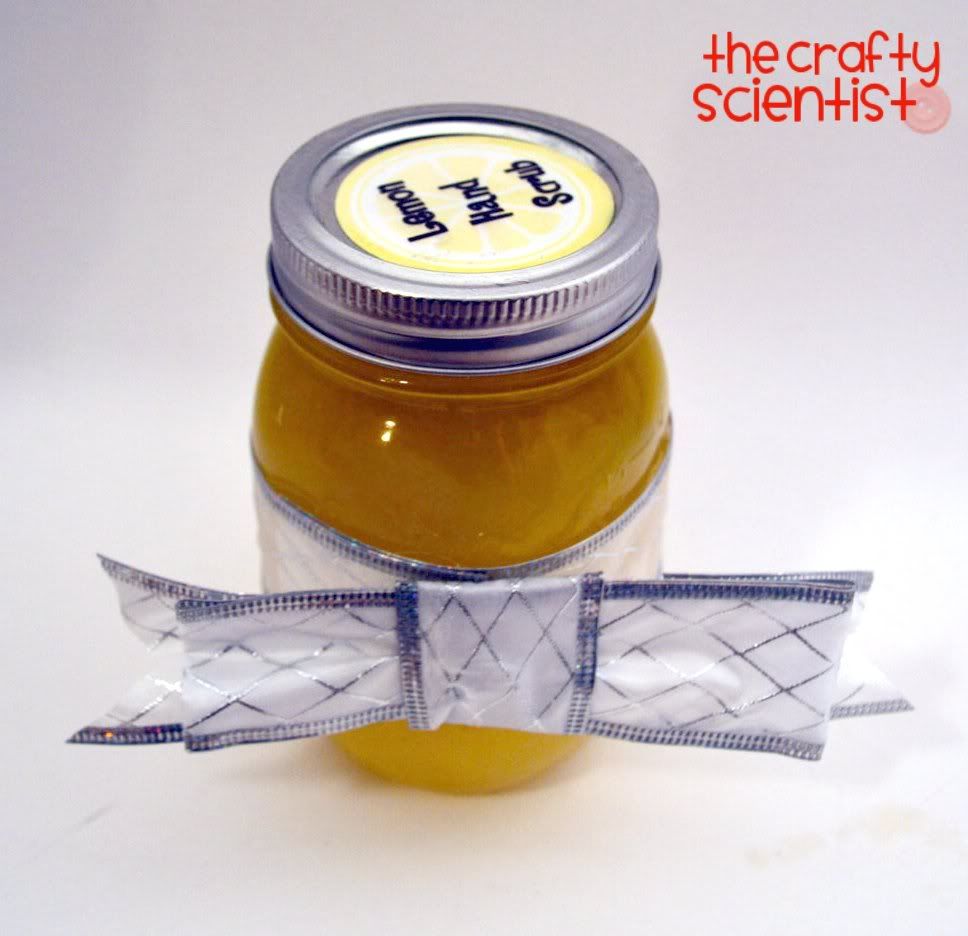
I love to make projects using stuff I already have and that don't usually take too long and this Lemon Hand Scrub is a perfect example of that. I actually found the recipe for this lemon hand scrub here at Under the Table and Dreaming last year and made some of it to give as gifts to friends and family members who loved it! It was awesome for everyone, including the super-masculine guys who work with cars and get lots of oil and gunk on their hands because it actually helps get that off. And I think gifts are always more fun in pretty packaging so I'm going to show you how to make the scrub, a pretty label for the jar, and a Martha-worthy ribbon to decorate your present!
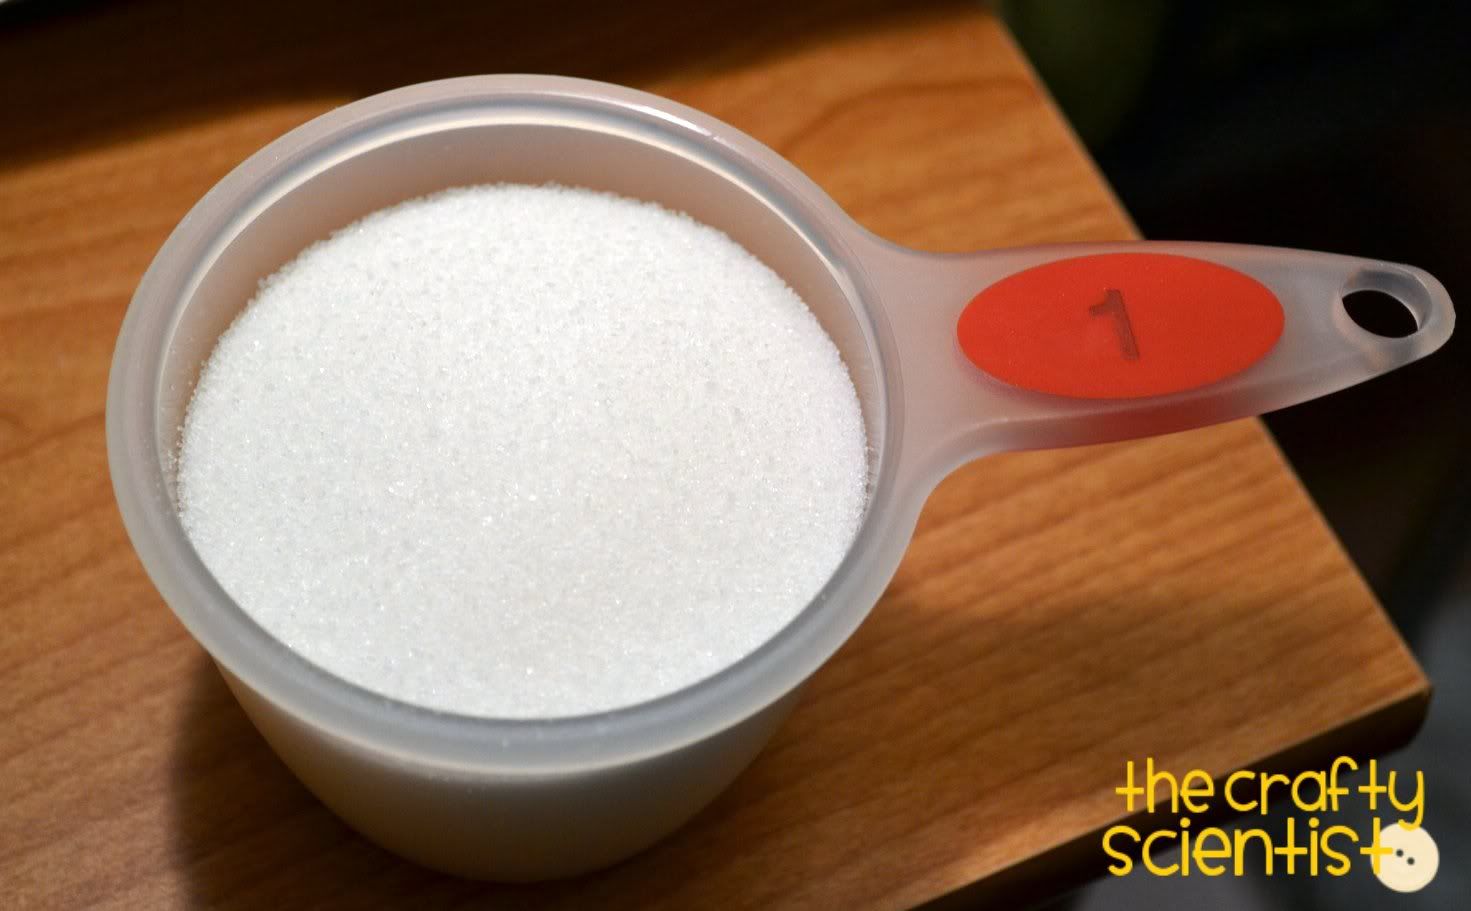
- 2.5 cups sugar
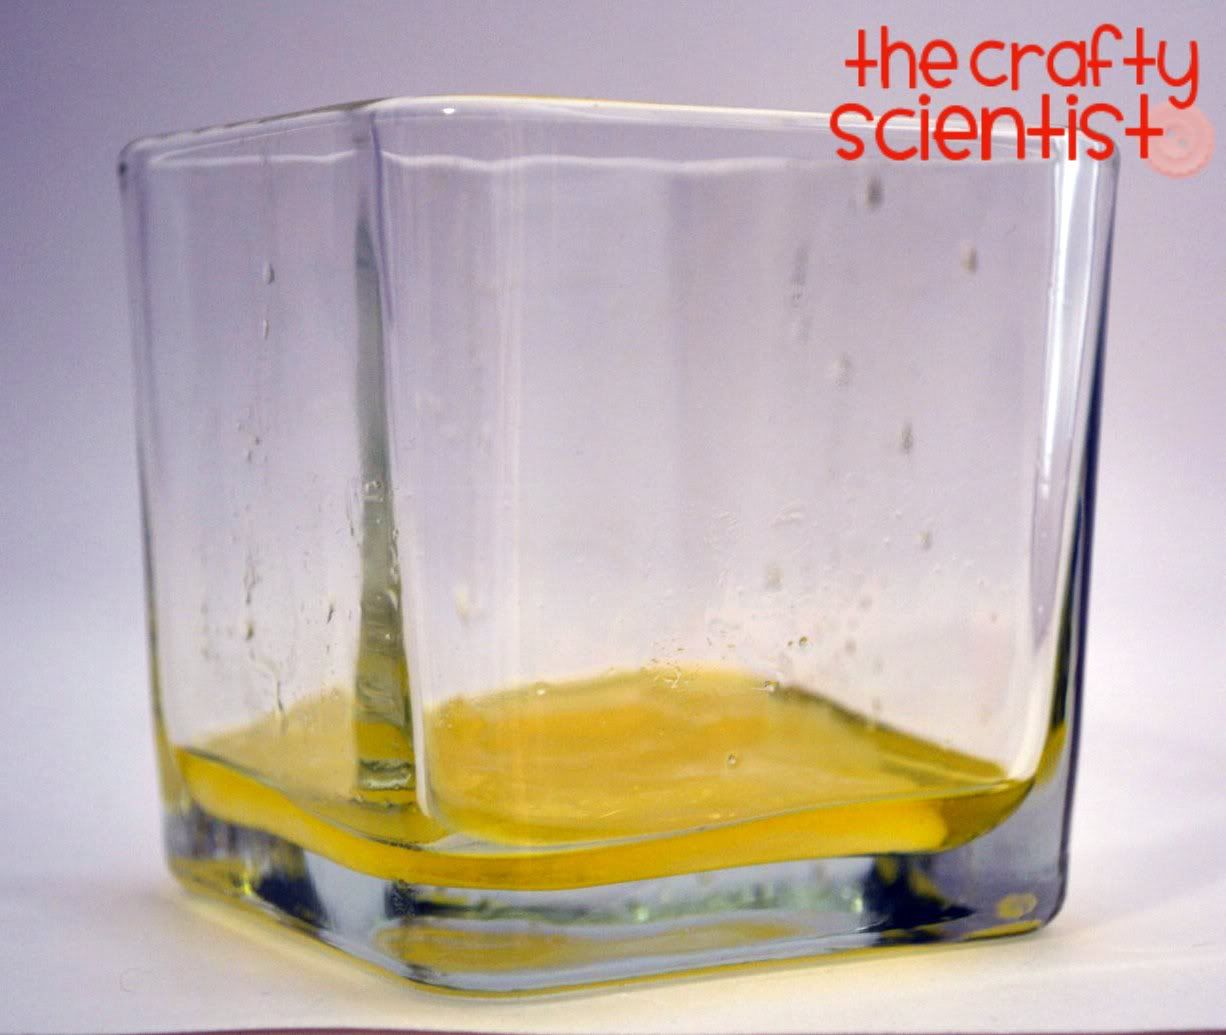
- 1 cup extra virgin olive oil
- 4 tablespoons of lemon juice
For the Container & Packaging
- Free Lemon Printables you can find here (printed out on sticker paper or cardstock)
- Mod Podge + brush
- Mason Jars (the scrub recipe is for a 12 oz. jar, but you can obviously recalculate to fit into whatever size jars you want!)
- Ribbon
- Scissors
- Glue gun and hot glue
You get a sort of egg and sand looking mixture that looks a bit like this...
As you stir, it gets a little bit more like a mixture and less like a sand castle with moat...
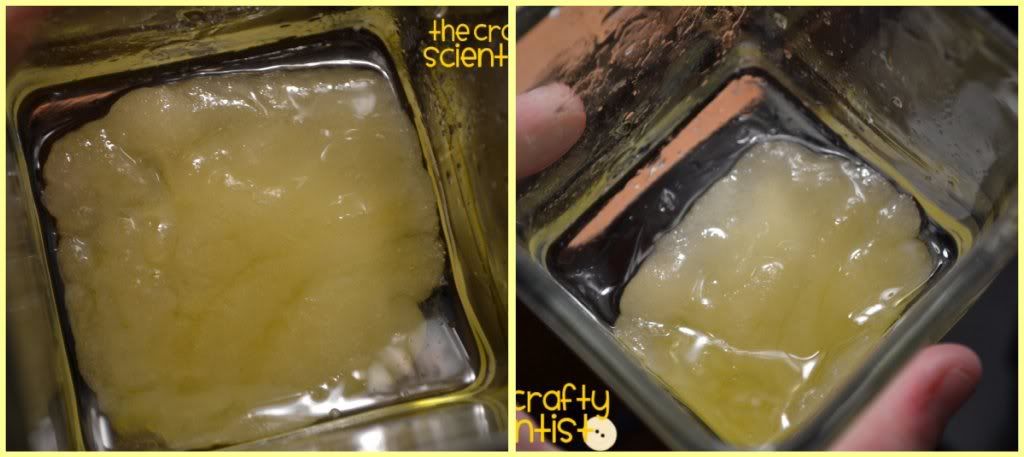
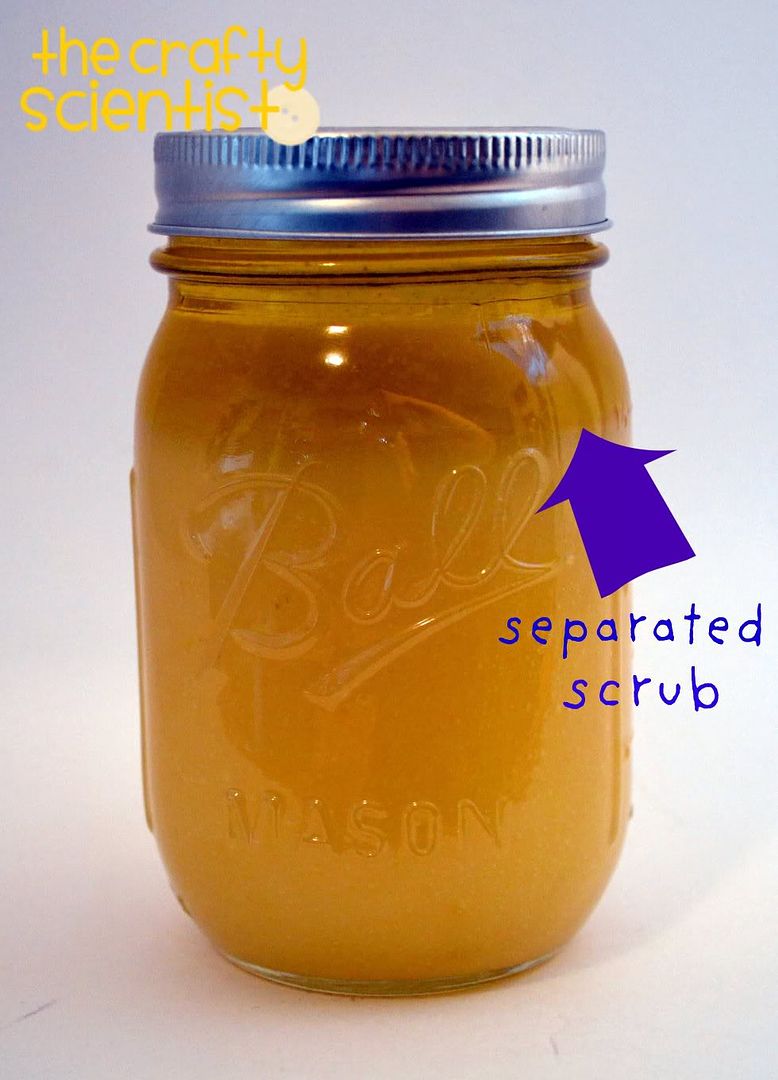
You stir it up and put it into a jar (the amounts here will yield 12 oz. or so of the scrub) and seal it. It will separate over time, but if you just shake the jar up or use your fingers or a popsicle stick or something to stir it up, it'll mix up just fine!
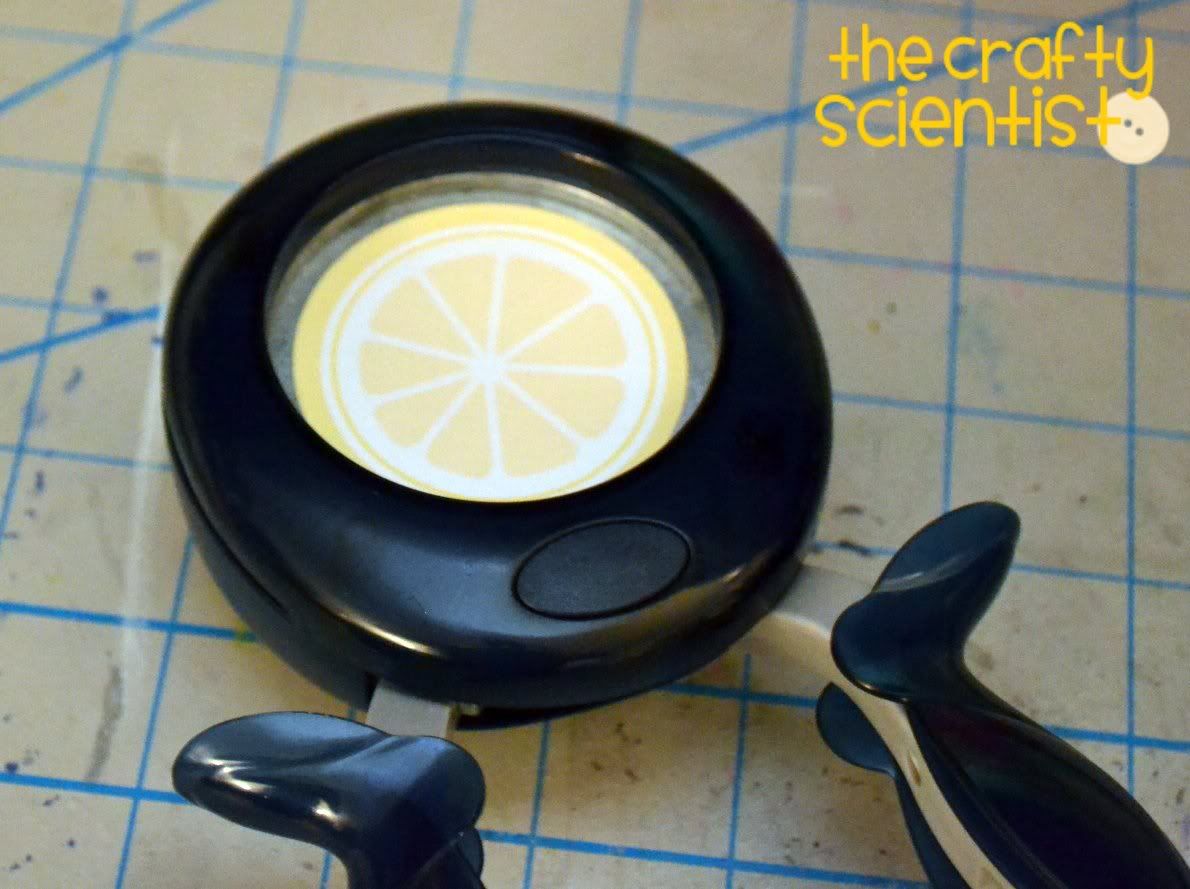
Then, you want to download your free printable labels, found here. These actually came from the amazing, super-cute Wendy at Wendolonia (she made orange and lime versions too, originally for marmalade labels)! Wendy gave me permission to share the versions that I made, complete with sugar scrub label, with you all here! You can download the .png or .jpg versions from Box.net here and then simply print them out. There are 12 on a sheet and you can print them on some sticker paper or some nice white cardstock.
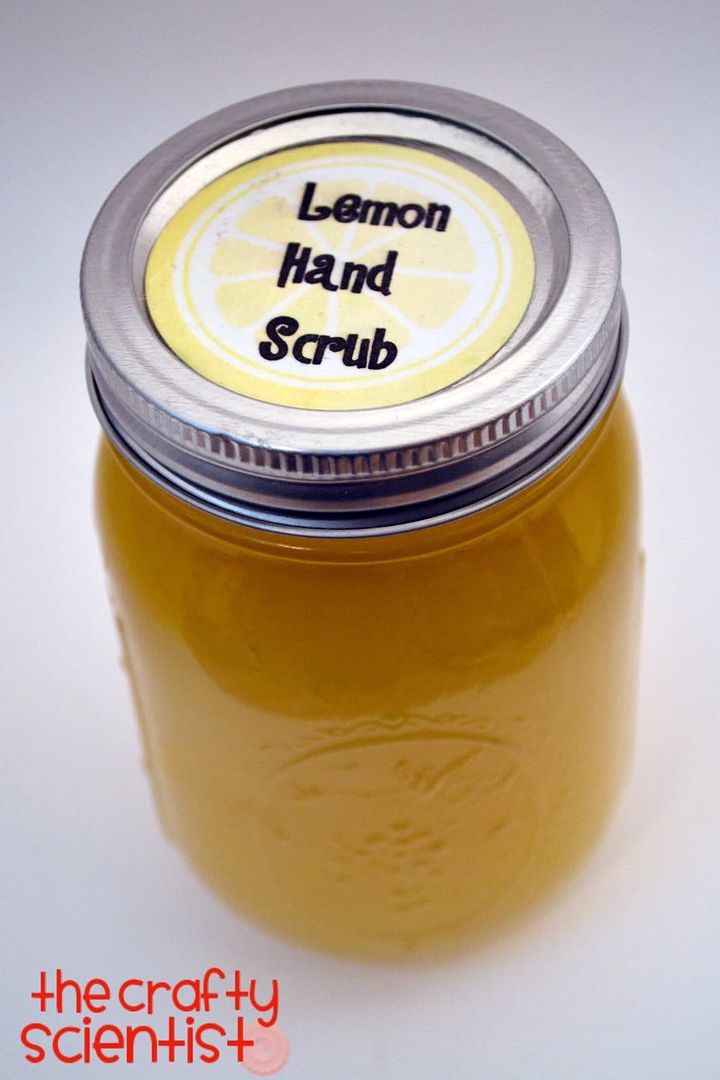
Then I just used some Mod Podge to attach it to the lid of the jar and put some Mod Podge on top of the label so that it's protected from wet hands that might try to open it! (It's held up pretty well over time, but after about a year, this one does look a little dirty, unfortunately, but I promise, yours will look better... at least at first!)
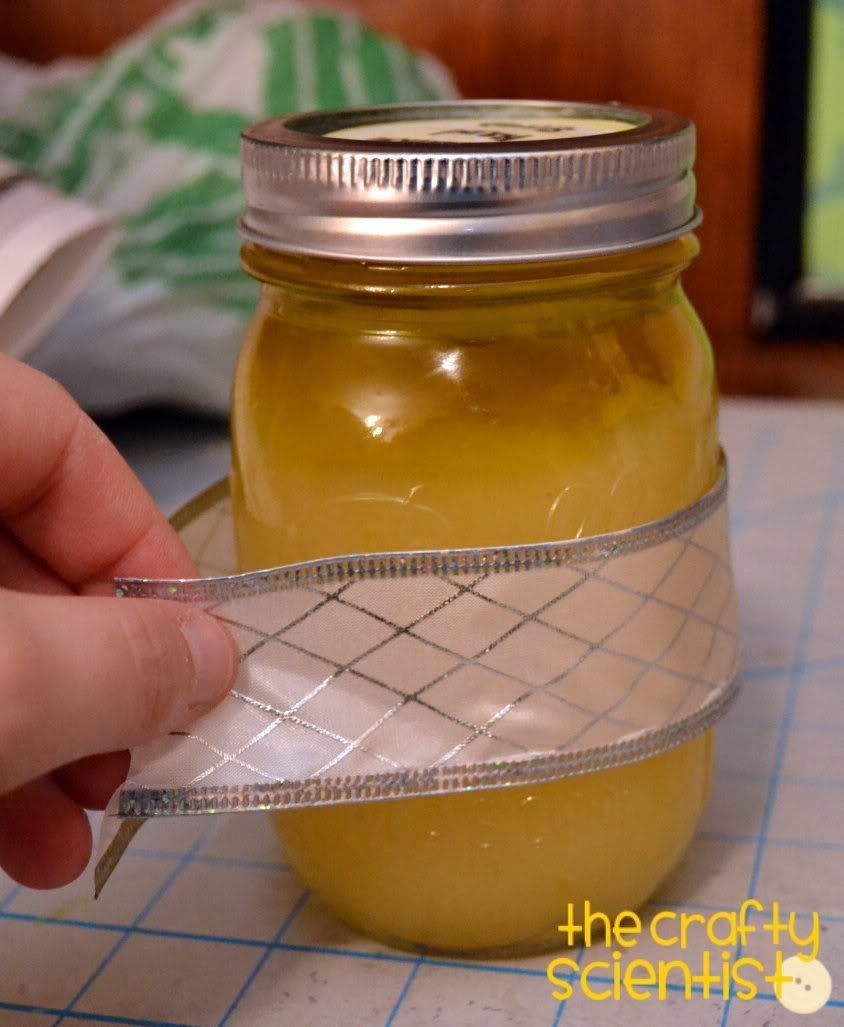
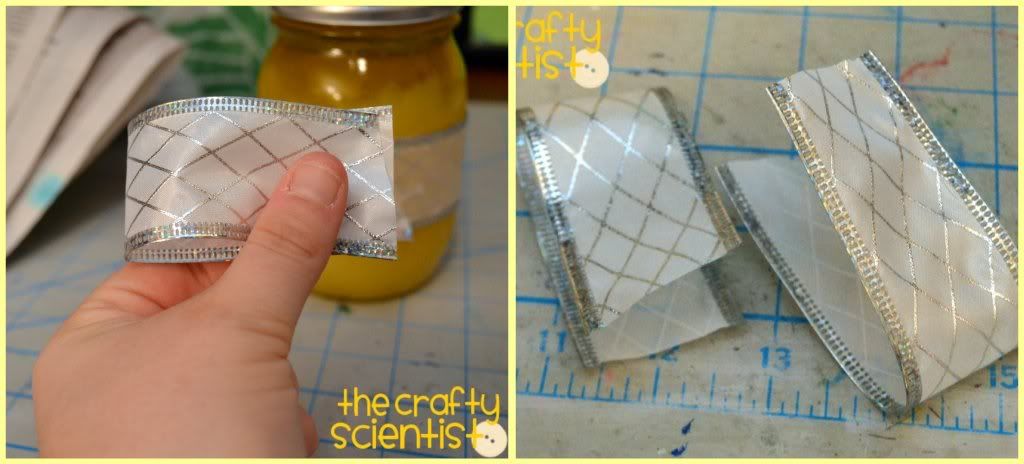
After you put the labeled lid together, you might want to put a pretty ribbon and bow on it. Basically, you want to cut enough ribbon to wrap around the fattest part of the jar and just use a dot of hot glue to secure it. I'm showing you how I made this bow with wire-edged ribbon from the Dollar Tree...
Then, cut two pieces of the same length to make the loops for your bow. Put little dots of glue to keep the loops set.
Then, you want to glue one loop over the top of the other loop.
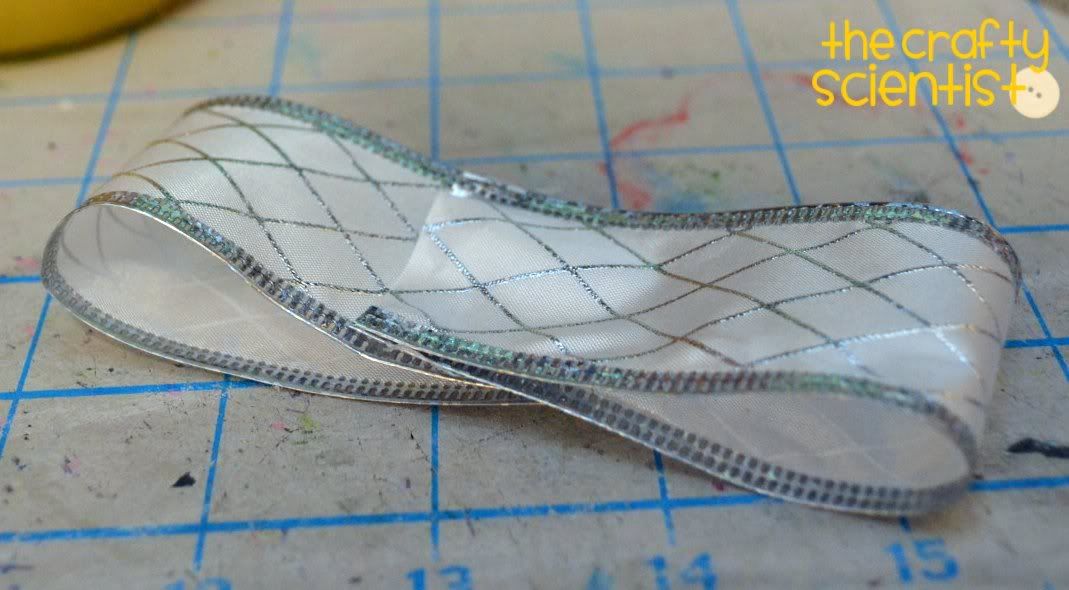
To make the bow look even more like a real bow, I sort of folded the bottom of the ribbon up a little.

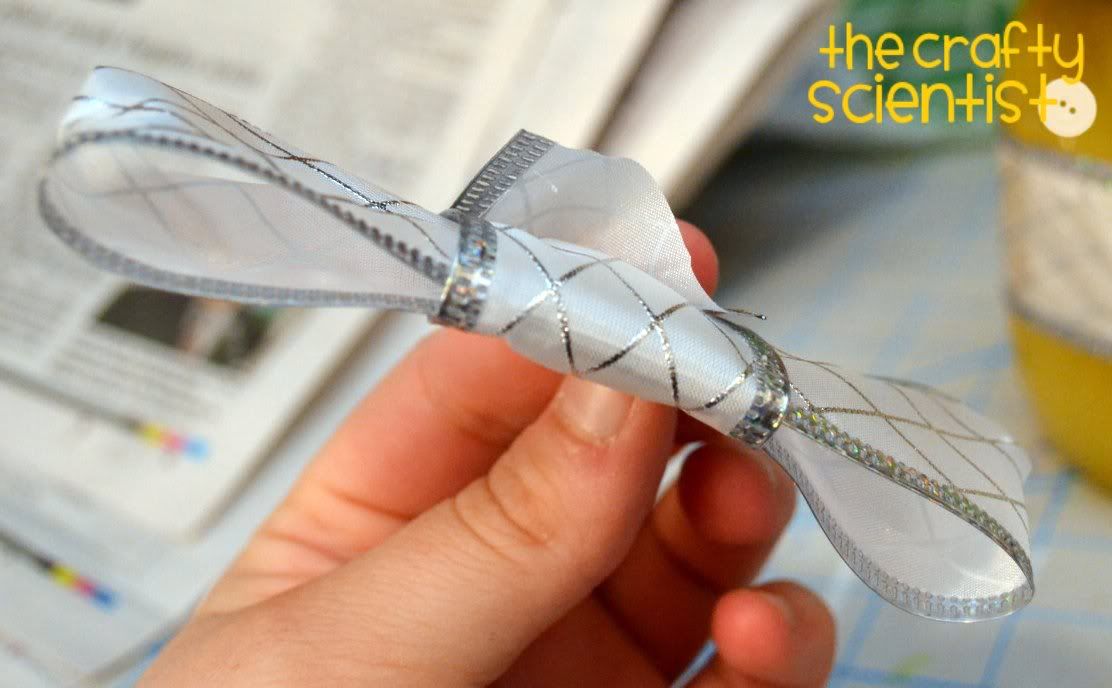
Then, cut another small piece of ribbon and wrap around the middle of your two loops and glue in place.
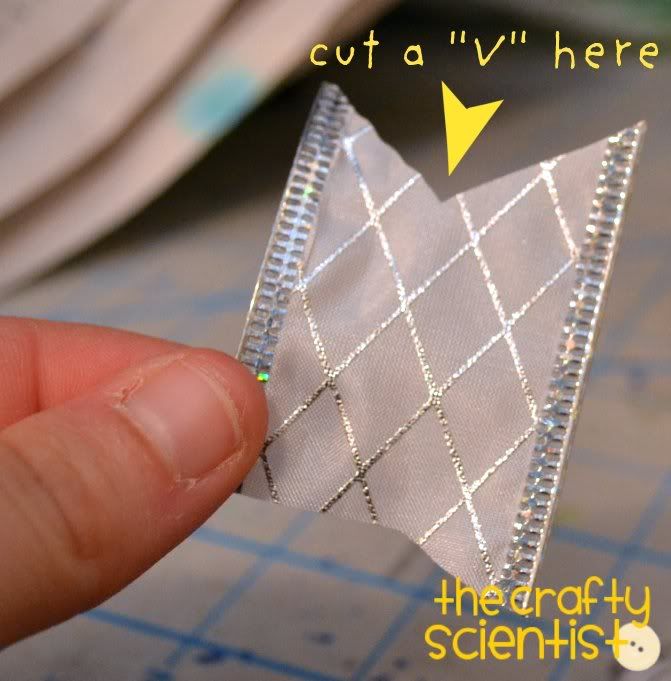
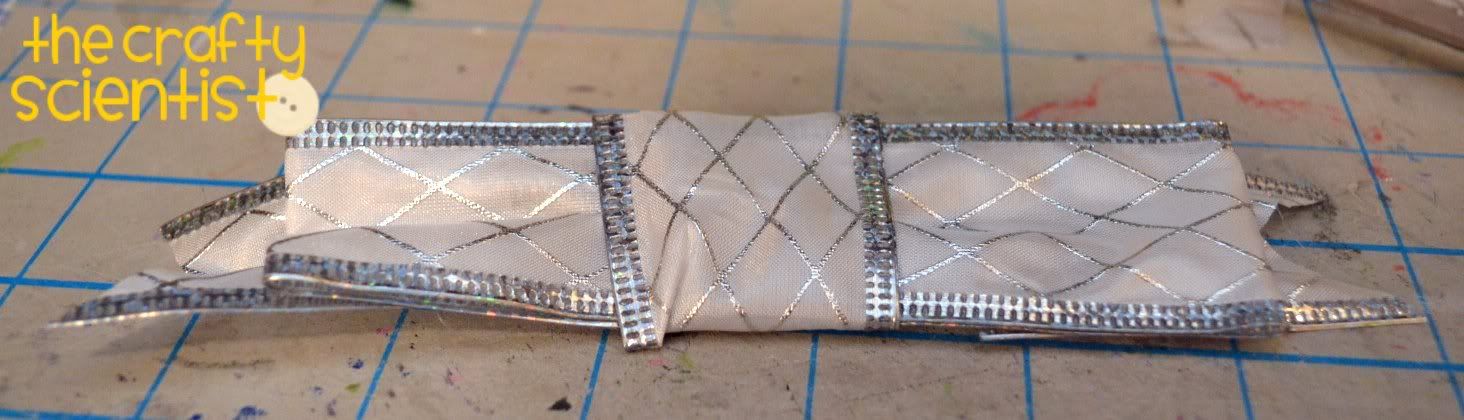
Then you want to cut two small pieces of ribbon and cut "V" shapes into the ends and glue to the back of your bow.
A bow worthy of Martha!
Just glue to the ribbon you had around the jar and it's a gorgeous little present that you made with stuff you probably already have on hand (and even if you didn't, it costs almost nothing)! (You can see how fast it settles too - I literally stirred it up, made the ribbon and took pictures of that and went to take pictures of the finished product and it had already settled quite a bit, but it mixes up again just fine.)
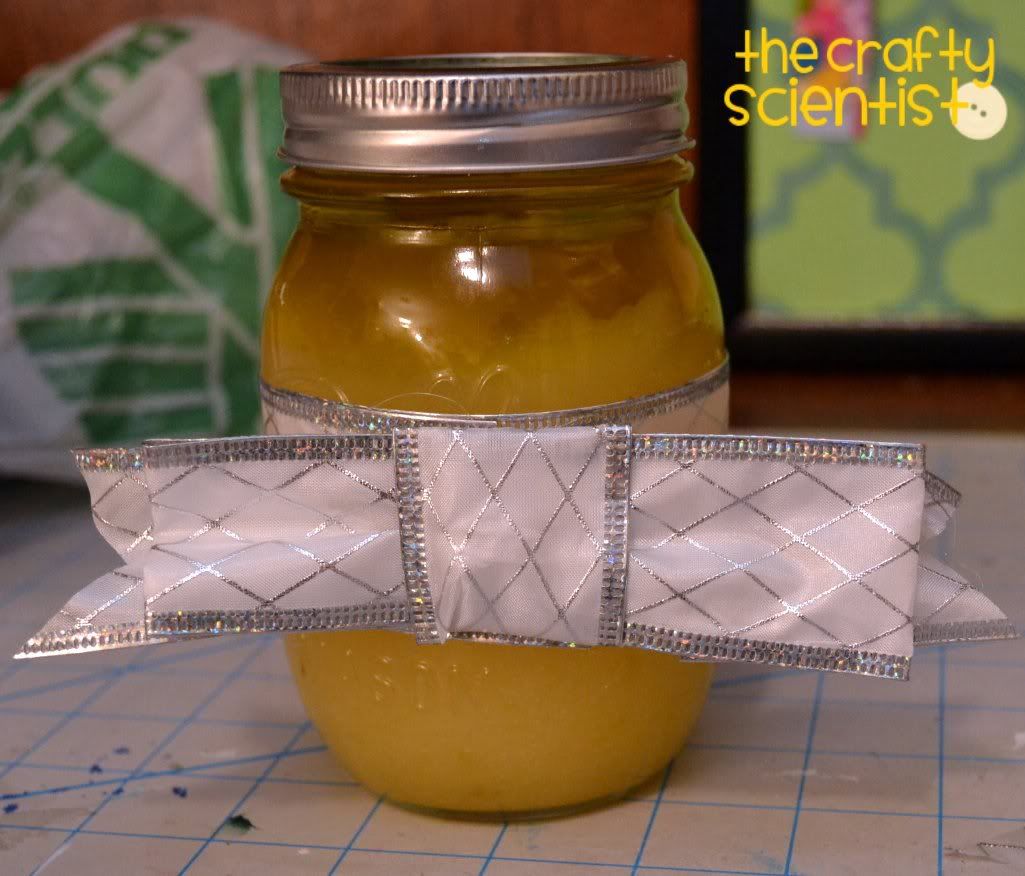
Pretty, right?

Last year this was a big hit with the friends and family... and I might have even kept a jar for myself too because I loved it so much!
A big thanks to the crafty girls for letting me guest post here today. I'd love it if you came to visit me (and shared your experience if you make any scrub!) at The Crafty Scientist! Feel free to check out some of my other tutorials that might make awesome gifts...


Is it just me? None of the images seem to work... :(
ReplyDeleteI can not see them either.
ReplyDeleteI can't see them either. Sad day.
ReplyDeleteImages not there :(
ReplyDeleteImages have been fixed--thanks Mel! You're awesome.
ReplyDeleteObviously you're the awesome one, Tristin! Sorry again about that - I have absolutely no idea why this happened or what the deal is... I never moved the pics or did anything funky. That's what I get for trying to be prepared, haha! : ) And you guys should totally try it - it's awesome! : )
ReplyDelete-Mel the Crafty Scientist
oooo love this idea! I really want to see how the scrub works! Lemon smells amazing!
ReplyDeleteThis might be a dumb question, but the scrub needs to be refrigerated, right?
ReplyDeleteThis is kinda a dumb question I am thinking but you said to seal the jar - does that mean I have to run it in the canner??? I know ... it seems silly I just want to do it right!
ReplyDeleteepson connect printer setup utility
ReplyDeletewww.avg.com/retail
how to install Norton antivirus on Windows 10
how do i reinstall norton 360 without disc
support.brother.com/windows